Are you figuring out whether to choose between Blink armed vs disarmed? Then I have got you covered. After buying the Blink camera system for my home security, I got to know the differences between both options. To clear your doubts, I invite you to check out this comparison guide till the end to make a better decision. So let’s dive in to see which one suits your needs!
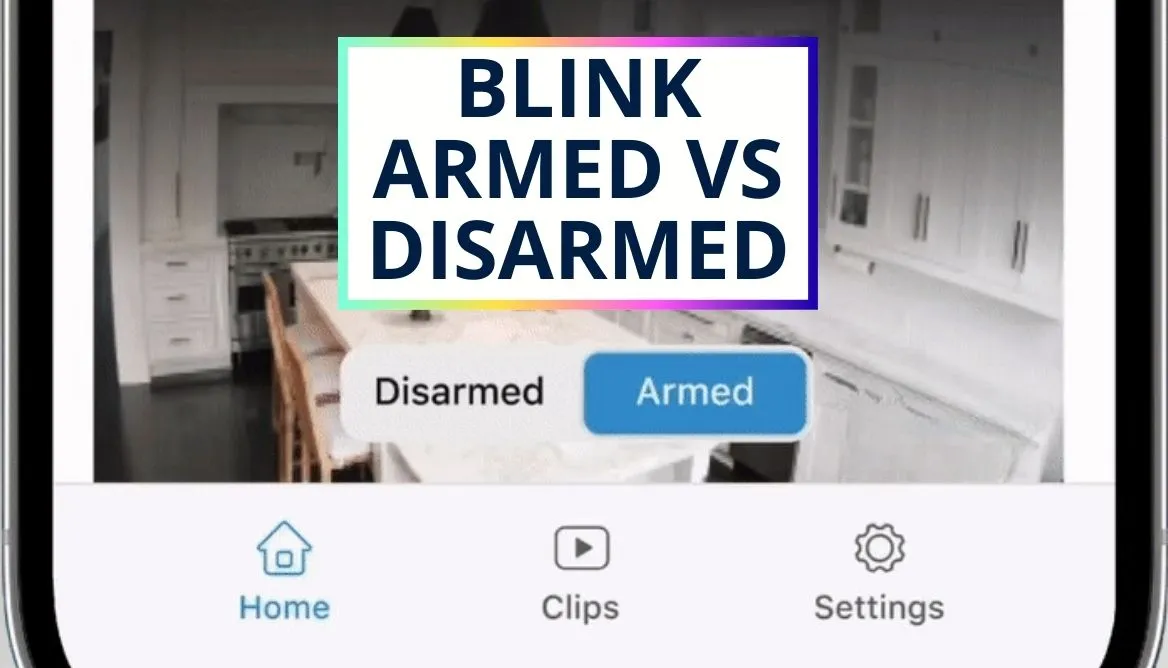
Quick Comparison
Blink cameras come with a variety of features and specifications. One of the best things I have found is the motion detection feature it comes with. For this, you have two options:
- One of them is the Armed Mode. Also known as Blink Armed. During this mode, your camera will detect any kind of motion and send you an alert notification. It will also record the video which is stored on the cloud.
- The second mode the cameras come with is the Disarmed mode. Also called Blink Disarmed. While the cameras are disarmed, they will keep monitoring your surroundings. You can also adjust the settings on the Blink Home Monitor app to upload these recordings to the cloud for up to 60 days. But it doesn’t send you an alert every time any movement is detected.
However, this info is just the tip of the iceberg. Continue reading below to know how these differ, what features they both have to offer you, what are the best times to use each mode, and much more. Let’s get started!
Blink Armed vs Disarmed Face-Off: Comparing The Two
So I briefly touched upon the two settings you can have on your Blink cameras. It’s time that I give you a snapshot of what differences I have seen between the two. Let’s have a look!
Key Features | Blink Armed Mode | Blik Disarmed Mode |
Motion Detection: | Enabled | Disabled |
Live View: | Available | Available |
Video Recording: | Triggered by motion events | Manually initiated Blink record |
Notifications: | Sent to the Blink app or Alexa devices | None |
Battery Life: | Depends on the frequency of motion events and settings | Longer than armed mode |
Security Level: | Higher | Lower |
Now that you have seen what are the differences between those two modes. It’s high time that I dive into both of them so that you can understand what actually goes on when your camera is in armed or disarmed mode.
Blink Camera Armed: What Does it Mean?
First of all, I will tell you all the details of the armed Blink cameras. Here are the top highlights I found in this option:
Active Vigilance
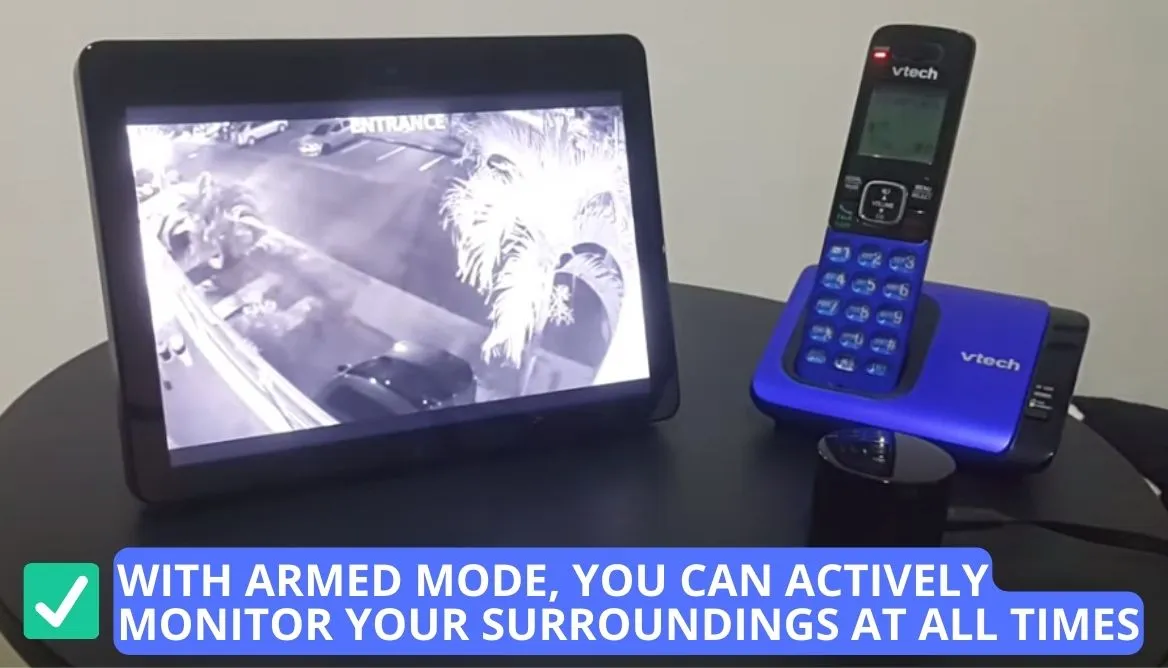
With the Armed mode, I was able to actively monitor my surroundings at all times. Whenever someone walks by, it detects the change in temperature and turns on. This was especially useful to me when I was down by the beach having a good time with my family.
Now that’s sacred to me and I don’t want my mind to be mentally thinking about whether the house is safe. So it will take note of any significant movement, or any noticeable disturbance which elevates the level of my home security.
Instant Notifications and Cloud Storage
It springs into action, whenever it detects motion and gives out alerts meanwhile recording the video clip for me to watch later. These clips are also stored in the cloud for up to 60 days. In this way, an archive will form containing any potential threats and events.
Blink Camera Disarmed: What Does it Mean?
Now what happens when you “disarm“ your Blink camera? Simply put it will disable the motion detection alerts and motion-activated video. Let’s have a look:
Selective Deactivation
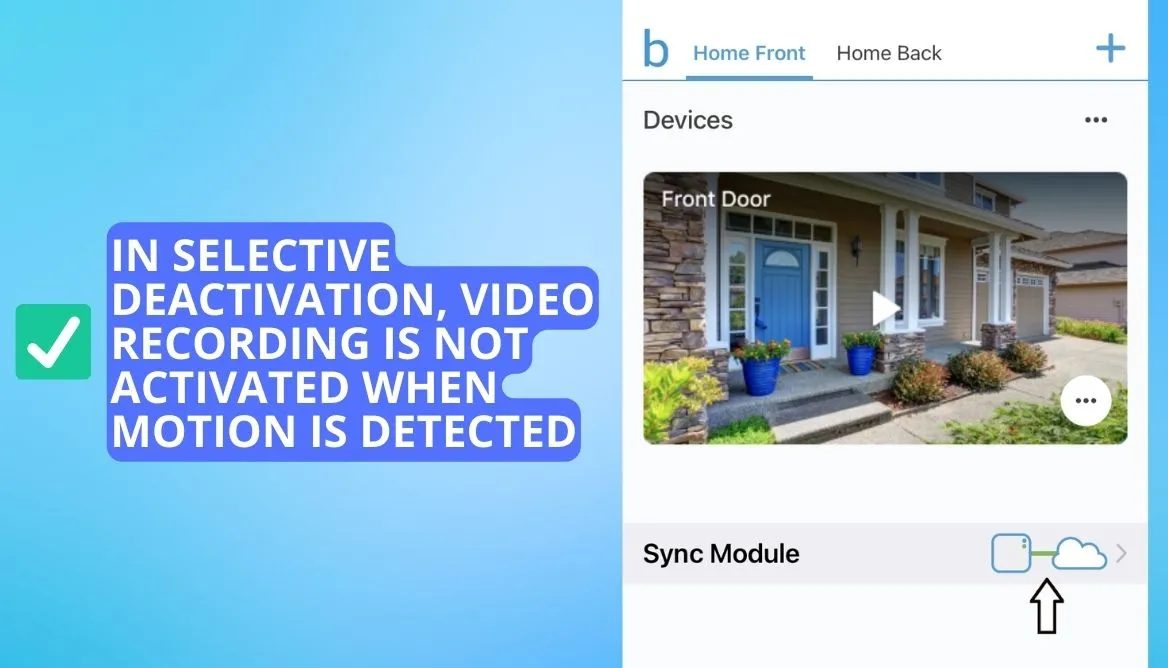
This intentionally deactivates the heightened security offered by the armed mode. So the motion detection does not activate any kind of video recording and sends you notifications. This is perfect for when my wife and I are around the house during the day.
Uninterrupted Live View
You should keep in mind, that this doesn’t mean your house isn’t safe. The Live View feature is still retained and the recordings will be uploaded to your cloud as usual. So you have nothing to worry about. So it provides you with the flexibility without compromising on the security.
The Good and The Bad of Using Blink Armed
After covering the essential basics, I’ll go over the benefits and drawbacks I found while using the Blink Armed Mode:
Let’s look at the benefits of the Blink-armed mode:
- Active Security Surveillance: One of the key advantages of using an armed camera is that it actively monitors the surroundings.
- Peace of Mind: You are at ease knowing no intruders can bypass the detection mode and inform you of it.
- Stores Video For Future Use: Apart from monitoring, it also records the video clips when it senses any unusual motion adding an additional layer of security to your home.
- Instant Notifications: It goes a step further by also sending you real-time notifications and alerts so you can know what is going on in your house. Whose coming in and out?
Listed below are the drawbacks I faced:
- Risk of False Alarms: One thing I found I bit annoying is the alarm trigger turned on by stray animals and gusts of winds. This can be a bit of a nuisance if you are trying to work and have to keep on checking for real threats.
- Faster Battery Consumption: One thing I advise you to have in mind is that this mode will quickly drain out the battery.

The Good and The Bad of Using Blink Disarmed
After covering the positives and negatives of the armed mode. Let me tell you how I found the disarmed mode to be:
Contrary to popular belief, these are the benefits of the disarmed mode:
- Event Flexibility: For when you are having events and large gatherings at home. There will be constant notifications and unnecessary alerts if you have the camera armed. That’s where disarming features come in.
- Uninterrupted Sleep: You will be able to enjoy a peaceful night without getting bothered by the constant trigger alerts.
- Pet-Friendly: If you have pets in your home. Arm mode is not your friend. So I suggest using the disarm mode so the camera doesn’t pick up your pets moving and playing around.
Now that I have told you the amazing things the disarm mode has to offer, let’s take a look at the downside:
- Exposed Threat: In case of any unusual or suspicious activity around your home, you won’t be able to take notice of it and take note of it to remedy the situation.
This comparison that I have done for you tells what both of the options have and how you can benefit from each. You can also check out this video to see the key difference between the blink-armed vs disarmed mode.
But the question remains. Which one to go for? Which suits me better arming or disarming the Blink cameras? Well, in the next section, I’ll put your mind at ease by breaking down which mode suits you better.
Blink Camera Armed vs Disarmed: Which One is The Best Choice For You?
So here is how I found out which mode works best for me.
You should opt for the Blink Armed when:
- You are gone for vacations and need high vigilance around the house.
- During night time when everyone is sound asleep.
- My wife adjusts our indoor camera to arm mode when the baby is sleeping and uses it as a monitor.
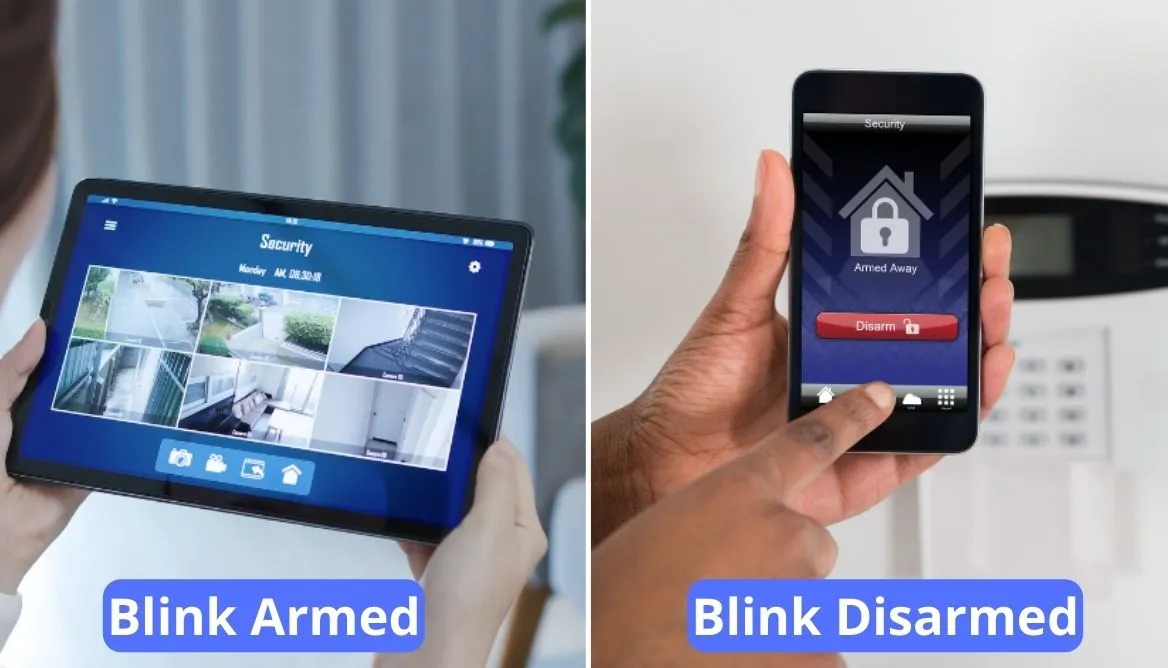
On the other hand, I think disarmed mode is best suited for:
- Busy times around your house. Especially when there are more people at your home. Or holidays, birthdays, or special events planned at your home.
- When you have pets. My dogs just can’t stay in all day and love to go play in the backyard to chase some squirrels. The disarm mode will allow the flexibility of movement of your pets.
- If you want to save battery life on cameras, then go for the disarmed mode.
- When you are awake around the day and going on about your normal routine.
Additional Suggestions
In order to optimize both of these features, I would suggest:
1. Scheduled Mode Switching
Since both of them have benefits I wanted to take advantage of them. I leveraged both of them by using schedules according to my routine.
- I have adjusted and scheduled the armed mode to turn on when I go to sleep around 10 pm.
- Then when I wake up around 7 am, the disarmed mode gets turned on automatically.
- Similarly from 9 am to 3 in the afternoon since me and my wife have to go to work and my kids go to school I have adjusted the outdoor cameras to detect motion.
- Whereas the indoor cameras have disarm mode so even if my dogs move around I won’t get alerts.
2. Guest Mode Protocol
Establish a guest mode that automatically activates Disarmed mode when your Blink Camera recognizes familiar faces. Prioritize the privacy of your guests while maintaining a vigilant stance when unfamiliar individuals are detected.
Step-By-Step Guide to Initiate Motion Detection
Here’s how you can easily turn on the arm mode:
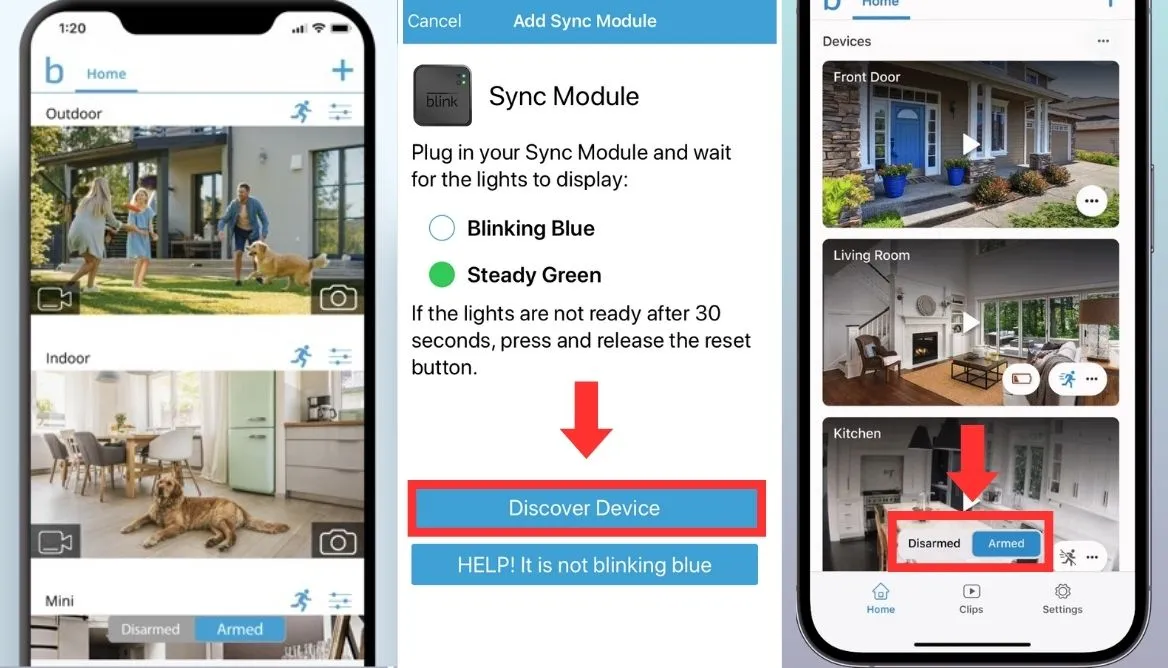
- Open the Blink home app on your smartphone. If you haven’t downloaded it yet, go to the app store to download it and register using your email address.
- Now click on the Sync Module of the camera you want to turn the mode on for.
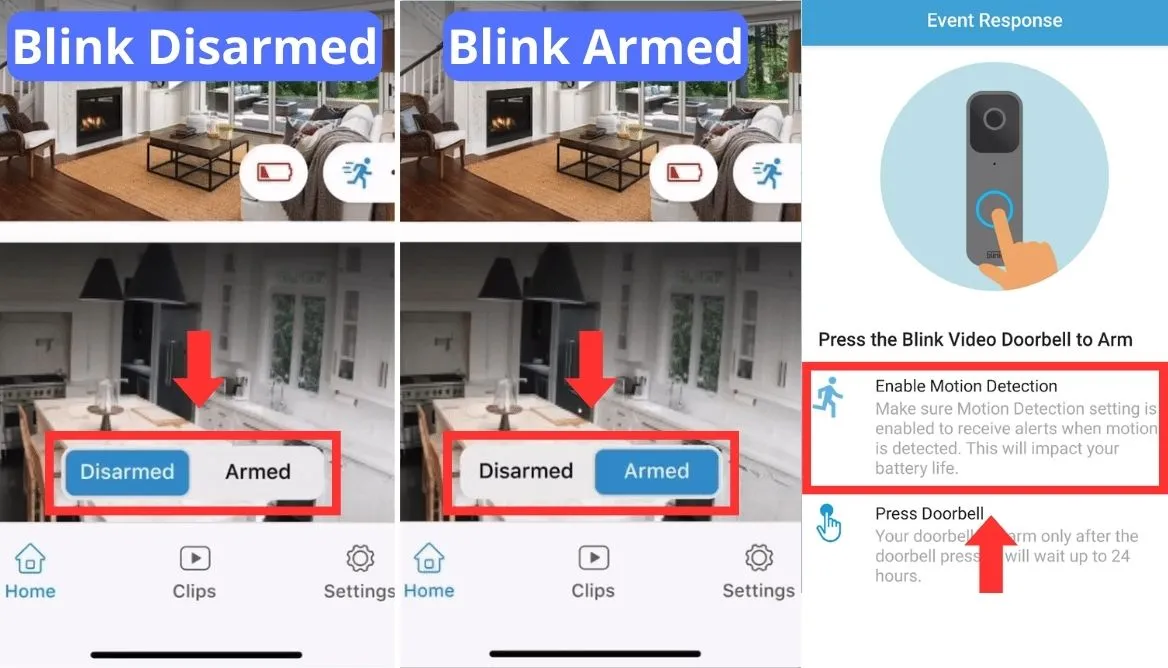
- You will see a toggle switch at the bottom of the screen named “Armed” and “Disarmed.”
- It will be disarmed by default.
- Tap on the switch and click on the armed to turn it on.
- Now you will be able to enjoy motion detection and alert notification.
Step-By-Step Guide to Disable Motion Detection
Disarming a Blink Camera is a simple process that can be done in just a few steps. By following these instructions, you can deactivate your Blink Camera effortlessly:
- If you want to disarm it. Launch the app on your smartphone.
- Choose the Sync Module with which the camera is associated.
- Now click on the specific camera you want to disarm.
- You will see a gear/setting icon, proceed by tapping on it. Within the setting, you will see the motion detection option, click on disarmed to turn it on.
- A notification will pop up when you disable the armed mode. Confirm turning the motion detection alerts off.
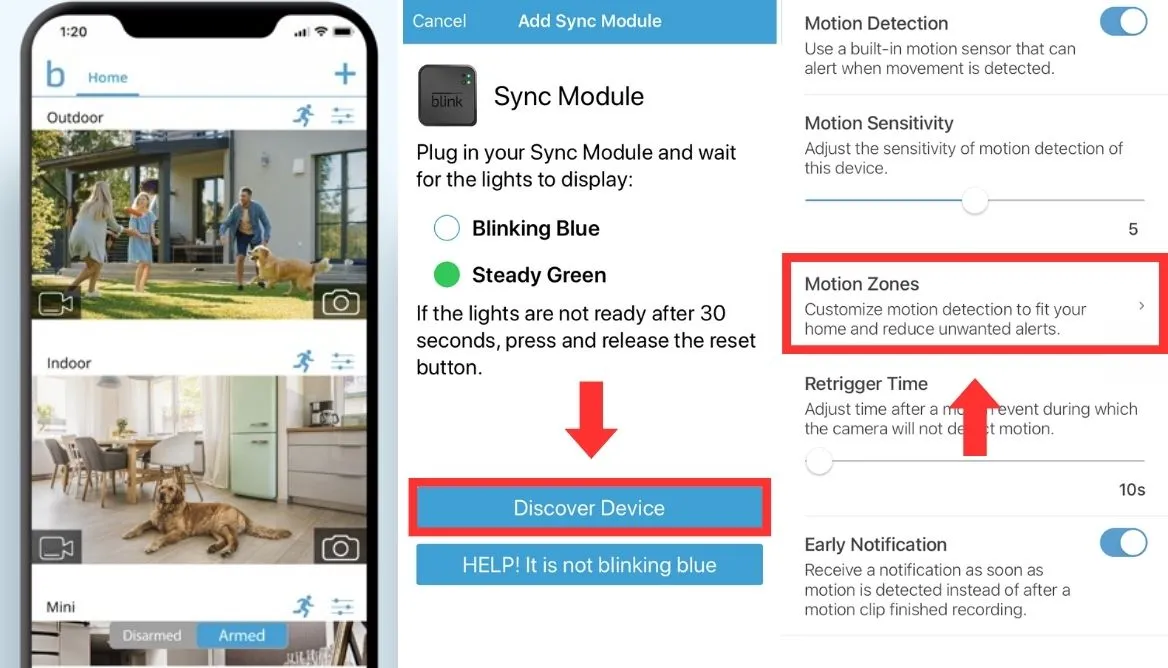
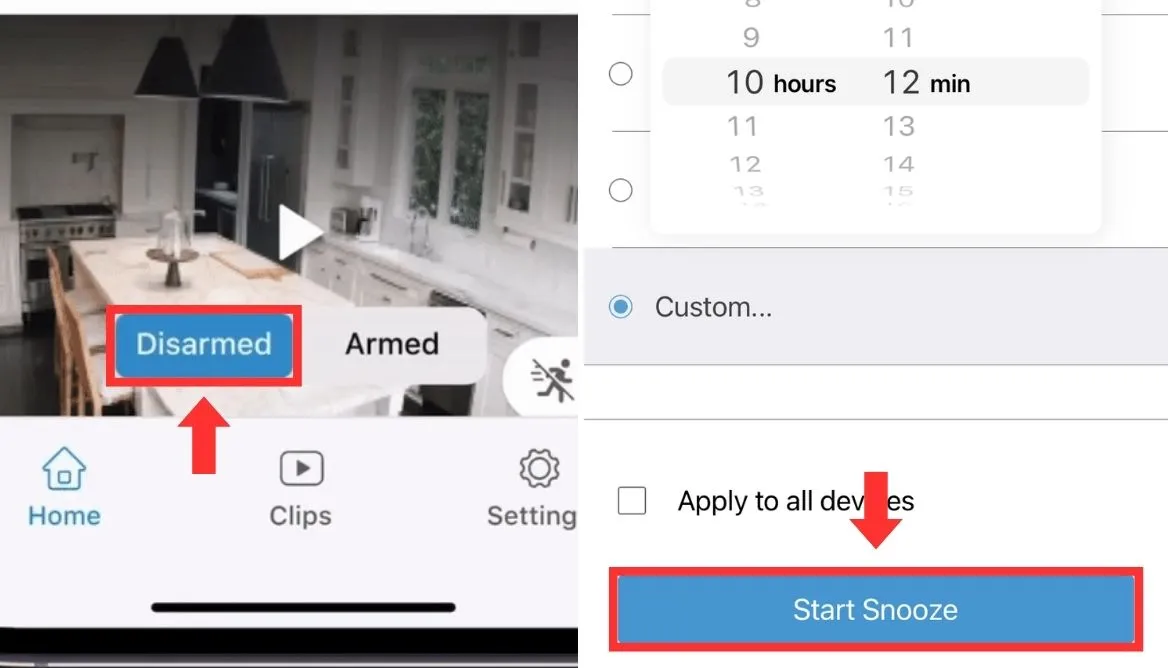
After following the steps, you have now disarmed your Blink Camera. You can always turn on the armed mode by going through the instructions above. Alternatively, you should see this video which explains these steps in a very simple way.
3 Best Ways to Automate Arm/Disarm The Blink Cameras
Here are the 3 best ways that automate this Blink feature to get the most out of it. Let’s learn more about them:
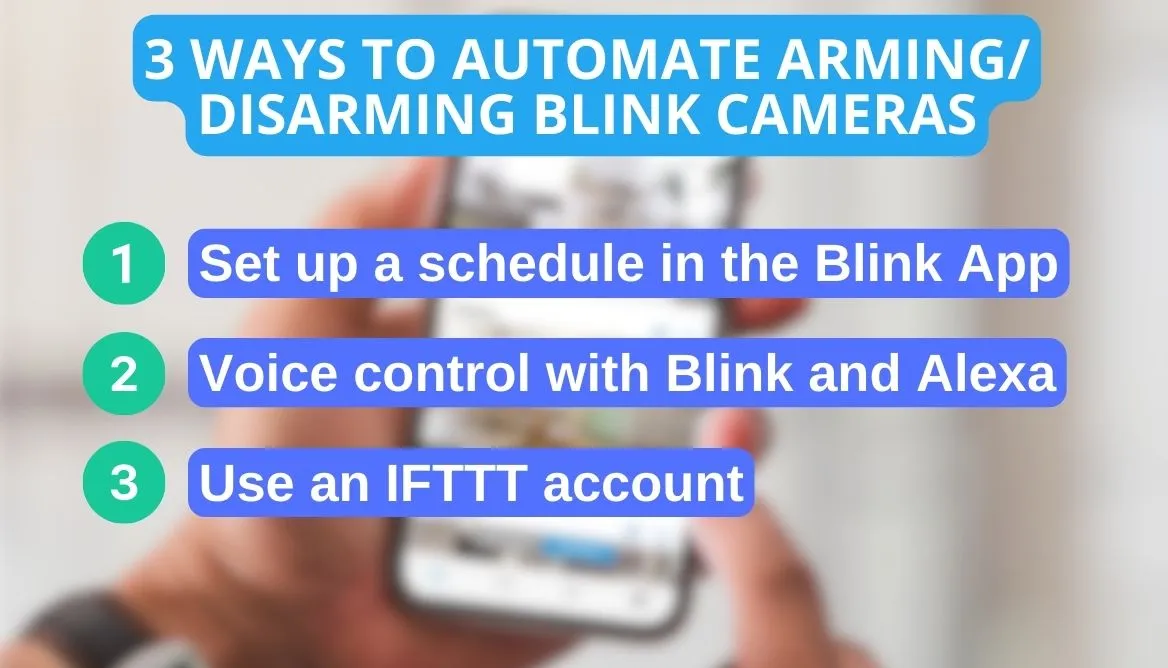
1. Power of Blink App Schedules
One of the best ways to effortlessly shift between the modes is through the Blink App scheduling feature. Here’s how to do that:
- Time Zone Precision: First make sure the time setting aligns with that of your location for best schedule settings.
- Blink App Navigation: Now within the app click on the Settings to go on to Device and System Settings and select the camera you want to turn the mode on for.
- Scheduling Setup: Within the system device, you will see the button “Scheduling”. Tap on it.
- Create Arming Schedule: Now tap on the “+” button and choose which days and at which time you want the armed and disarmed modes to be tuned on.
- Disarm Schedule: Similar to disarm times, check the no. of days and set timings to schedule your disarm mode.
With these steps, you will seamlessly gain control over the security experience Blink has to offer you.
2. Voice Control: Using Blink and Alexa Integration
Did you know you can voice control these features using your Alexa? I was blown away by it. So here is exactly how I did it:
- Skill Setup: Integrate Alexa with Blink by enabling the Blink SmartHome Skill in the Alexa app. First off, I integrated by Blink setup by enabling the Blink SmartHome Skill in the Alexa app
- Voice Commands: Now you can set certain commands like “Alexa, arm Blink” or “Alexa, disarm Blink” to control the system.
- Routine Magic: Enhance convenience by creating custom routines like “Goodnight” or “Leaving Home” for automatic arming. For specified schedules, you can also let Alexa know which schedule and mode to turn on by saying things like “Goodnight” or “Leaving Home” so it turns on armed mode automatically.
- Code Security: One of the best tips one of my tech-savvy friends, Steve gave me was the 4-digit Voice Code to make sure your privacy is safe and no one can interfere with the set schedules. Thank you, Steve!
This integration not only offers hands-free control but also customizable routines tailored to your specific needs.
3. IFTTT: Taking Blink Automation to Another Level
Another way to automate this task is to use IFTTT. In order to use this for changing the modes, here’s what you need to do:
- IFTTT Account: You need to sign up or log in to your IFTTT account.
- Explore Blink Applets: Visit ifttt.com/blink and see which of the applets best suit and cater to your needs.
- Connect Accounts: Now you need to link your Blink account to IFTTT in order for it to work.
- Applet Configuration: You need to configure these chosen applets and change the settings based on your preferences and needs.
- Activate Applets: You now need to turn on the applets so that they can control the Blink system to the specified conditions.
This will truly offer you a highly personalized and automated experience which I know many of you guys will thank me for so I highly recommend checking this option out. You may also see this video for a visual tutorial.
Having Blink Camera Arming/Disarming Issues? Here’s How to Fix Them
For times when you are having issues enabling or disabling the modes. Here’s a how-to troubleshoot:
- Checking Network Status: One of the most common things I found that can interfere with the setting change is the network connection. So make sure the internet is stable and within reach.
- Camera and Sync Module Connection: At times, when the Blink camera is not synced with the module it may cause issues when trying to change the settings. Ensure proper synchronization to solve this issue.
- Blink Camera and Sync Module Power Shutdown: If both the internet and the Blink cameras have no issue and, the mode can not be changed. Then I suggest turning the devices completely off for a couple of seconds and then turning them back on. Most often you will see that the mode has been updated.
- Updating Current Firmware: Make sure that the camera and the sync module firmware is updated to ensure smooth operation.
- Removing Scheduling Setup: Verify your scheduling setup within the Blink app in case any issues are due to improper configuration. If you have set up any schedules for the armed and disarmed modes, then this might be causing misconfiguration. Remove any pre-set schedules and retry.
- Contacting Blink Customer Support: If all else fails, you should try to contact Blink’s customer service for detailed guidance.
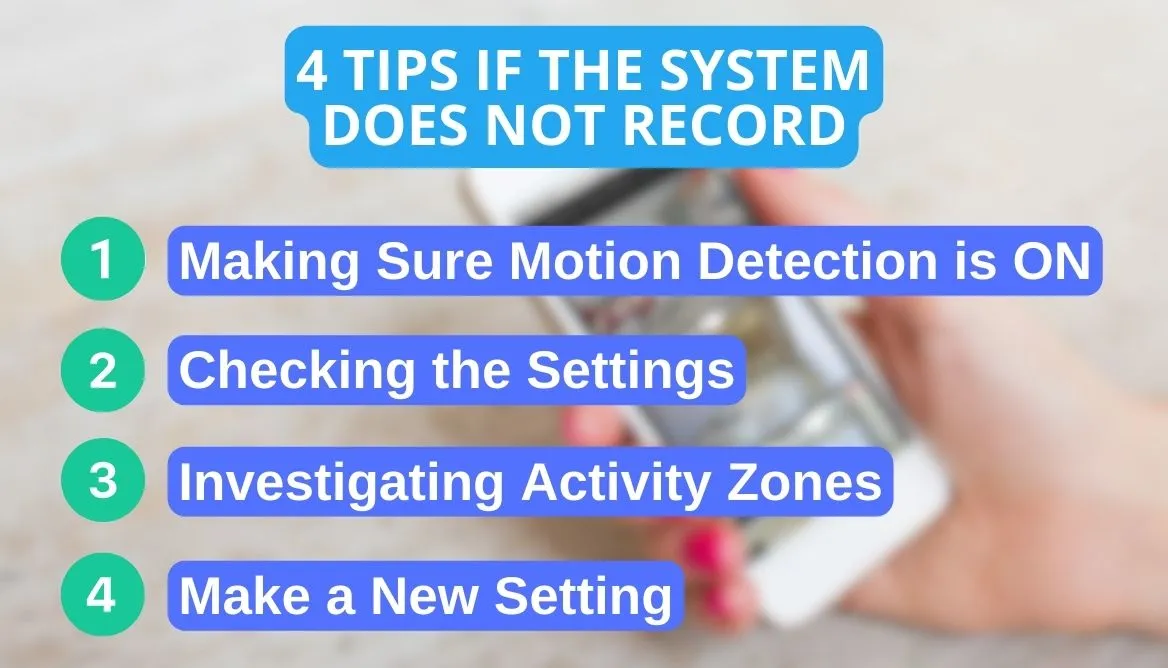
System Not Recording? Your Guide to Fixing It Like a Pro
There are times when everything is perfectly working well, the internet is stable, and the camera is synced with the module but it is still not recording when the armed mode is turned on. In order to troubleshoot this, here’s what you need to do:
- Making Sure Motion Detection is ON: For this, just open up your app and see if the motion detection is turned on. Also try to restart the app, turn the mode off, and turn it back on.
- Checking the Settings: Adjust the motion sensitivity settings in the app to ensure your camera is responsive enough to detect movements. You need to look at the sensitivity settings of the motion detection to see if the camera is responsive enough to locate, detect, and alert any movements.
- Investigating Activity Zones: You need to ensure no privacy or poorly configured activity zone is hidden from the camera view.
- Fresh Setup: If nothing works, reset your sync modules and cameras.
By following these, you will surely be able to troubleshoot the problem and be able to record motion detection in no time! In case of any issues, contact and speak to your Blink service provider for assistance.
FAQs
Does Blink only record when armed?
Yes, Blink cameras only record when armed and motion is detected. You should keep in mind that do not offer continuous recording.
What happens when Blink is armed?
What happens when Blink is armed is that it becomes highly sensitive to any motion detection sends you an alert and starts recording the video for you to see.
Can you arm one Blink camera and disarm another?
Yes, you can arm one Blink camera and disarm another. This can be done by syncing your cameras to different modules. You can sync up to 10 cameras per module.
Does the Blink doorbell need to be armed to work?
The Blink doorbell does not need to be armed to work. If you want a higher level of security then by all means turn on the arm mode so that it may record clips and send you notification alerts in case any motion detection takes place.
Conclusion
So summing it up, knowing the difference between Blink armed vs disarmed is crucial for optimizing your security levels. The Blink arm provides you with high levels of security and gives you real-time alerts in case of any sensitive changes in your surroundings. The disarmed on the other hand provides you with the flexibility in free movement all the while monitoring your surroundings.
For the best results, try to adjust schedules between both these modes according to your schedules and needs that suit you best. Armed mode is perfect for night times and when you are away from home and at times when you are in your home, the disarm will work just fine.
I suggest using Blink Schedules, Alexa Home, or IFTTT to automate these tasks and make your life easier and safer!
