Is your Blink camera not detecting motion, and do you think it’s broken? You might be wrong about that, as this isn’t always true. To find out, read this blog post, which I wrote after helping Samuel, a friend who faced the same issue for quite a while.
I helped him get his Blink camera back to motion detection via some quick solutions and will share the same with you. So, without investing more time, let’s read the quick answer before heading to the leading causes!
Quick Answer
To give you a quick insight, I told Samuel to look out for the following things that can be a potential reason behind the failed motion detection feature:
- Power saving mode enabled;
- Network issues;
- Motion detection disabled.
However, these are the basics only. There are high chance that your device is not picking up the motion due to some other reason. For this purpose, continue reading as I will list 10 problems along with their working solutions. Let’s dive deeper into this informative guide!
Blink Cameras Not Detecting Motion – 10 Main Causes
First, I will list all the possible causes along with the solutions so that one of them might get your attention. Here is a table to let you quickly review the fixes I will discuss below in detail.
Issue | Solution |
Considerable Distance of Sync Module from Camera | Reduce the distance between Sync Module and Camera. Attach the Sync Module directly to the camera for better connectivity. |
Battery Issues | Replace batteries with standard AA. Check and turn off the power-saving mode for proper detection. |
Sensitivity Issues | Adjust sensitivity settings in the Blink app for optimal motion capture. |
Firmware Update Issues | Manually check and enable permissions in the Blink app after updates. Save changes manually. |
Incorrect Blink Camera Settings | Configure motion, privacy zones, and retrigger time accurately in the Blink app. |
Nighttime Motion Detection Issues | Activate IR settings in “Camera Settings” > “Nightvision.” Adjust IR intensity. Consider additional IR illumination. |
Incorrect Blink Cameras Placement | Place cameras strategically in well-lit areas for effective motion capture. |
Problems with Infrared Port (IR) | Ensure unobstructed line of sight for IR sensors. Avoid placing behind glass or near heat sources. |
Subscription Expired: Not Recording | Verify Blink subscription status. Connect a USB flash drive if supported for alternative storage. |
Problem with Maximum Camera Range | Adjust camera position to cover the desired range of 5 to 20 feet to detect motion accurately. |
Now, let’s go through these fixes below in detail. But before that, you must download the Blink App from any platform mentioned on their website.
Read Also: How to Reset a Blink Camera? 4 Important Keys Before Reset
1. Camera Unable To Communicate with Sync Module
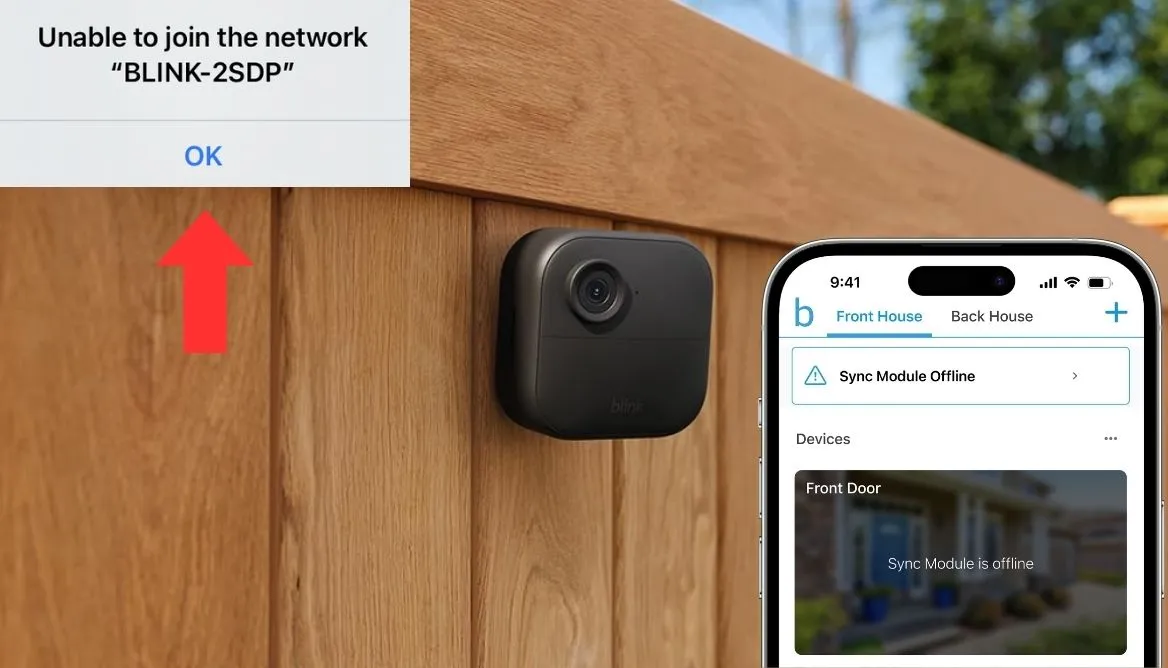
If you have been scratching your head like Samuel over detecting motion issues, one probable cause could be the distance between the camera and Sync Module. The Sync Module is essentially the central hub of your camera setup.
It receives necessary information from the Blink servers through the Wi-Fi network, facilitating real-time communication with the camera.
To get over this issue:
- Consider reducing the distance between the Sync Module and the camera.
- By minimizing this gap, you could improve the connectivity signals. It allows the camera’s motion detection system to function effectively.
- Alternatively, the solution that worked for Samuel was to attach the Sync Module directly to the camera, which significantly enhanced connectivity.
2. Battery Issues
Battery problems are not rare for Blink security cameras. These batteries, known for their power cycle efficiency, can sometimes face challenges related to their reliance on two AA batteries. The intensive operational demands of the camera can lead to battery issues, impacting motion detection settings.
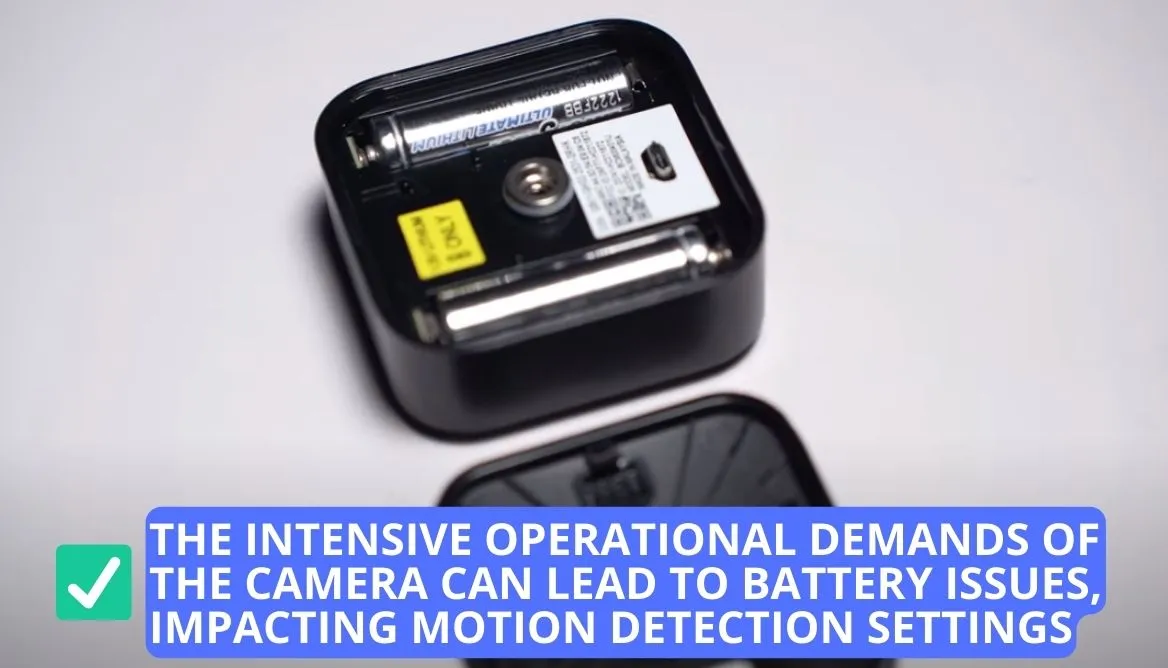
The go-to solution for battery-related woes is a simple battery replacement. Standard AA camera batteries, readily available at most electronics or grocery stores, can inject new life into your Blink camera.
3. Sensitivity Issues
As you continue reading this guide, let me reveal that sensitivity is an essential parameter in motion detection as it determines how attentive your Blink camera is to various activity levels. I assume that you might be less familiar with the complexity of this technology, so configuring sensitivity settings might present a challenge. But, following the solution below, things will only get more accessible for you.
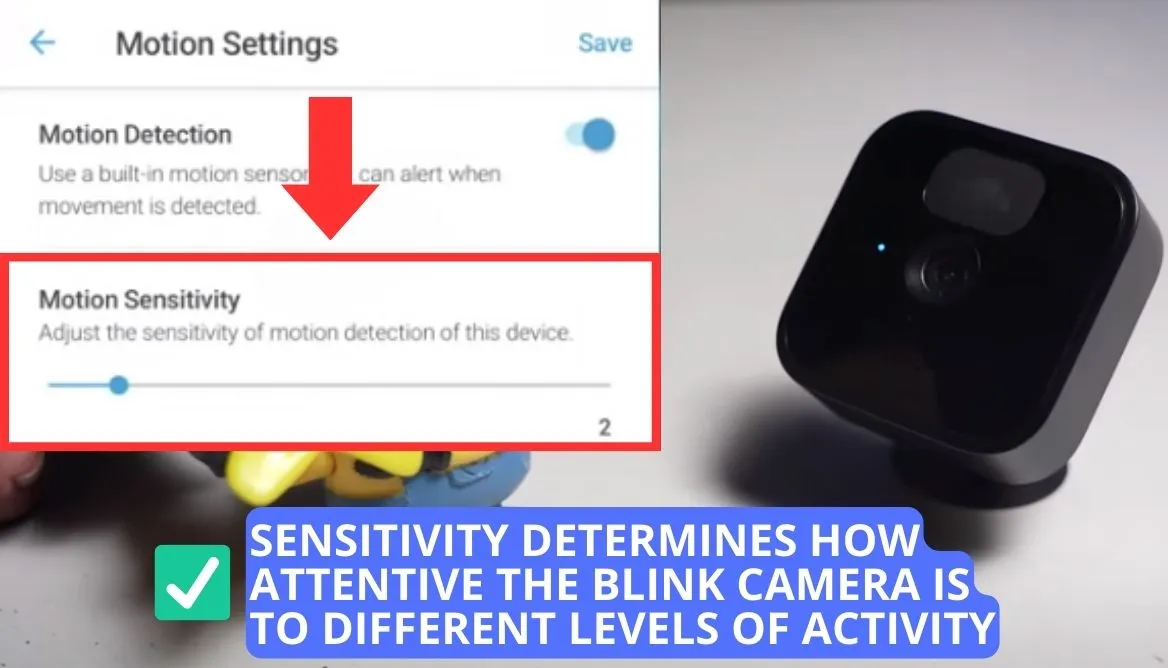
Navigating to the “Motion Detection” section in the Blink app would be best, as it allows you to adjust sensitivity settings. If set too low:
- The camera might struggle to detect the motion of slower-moving objects, leading to missed recordings.
- So, try to strike the right balance in sensitivity settings to ensure your Blink camera captures a comprehensive range of motion events.
4. Firmware Update Issues
Blink devices undergo continuous software and firmware updates to enhance their functionality. However, these updates can sometimes mistakenly reset device permissions, turning off critical camera functionalities. To avoid any potential issue, read the solution given below carefully.
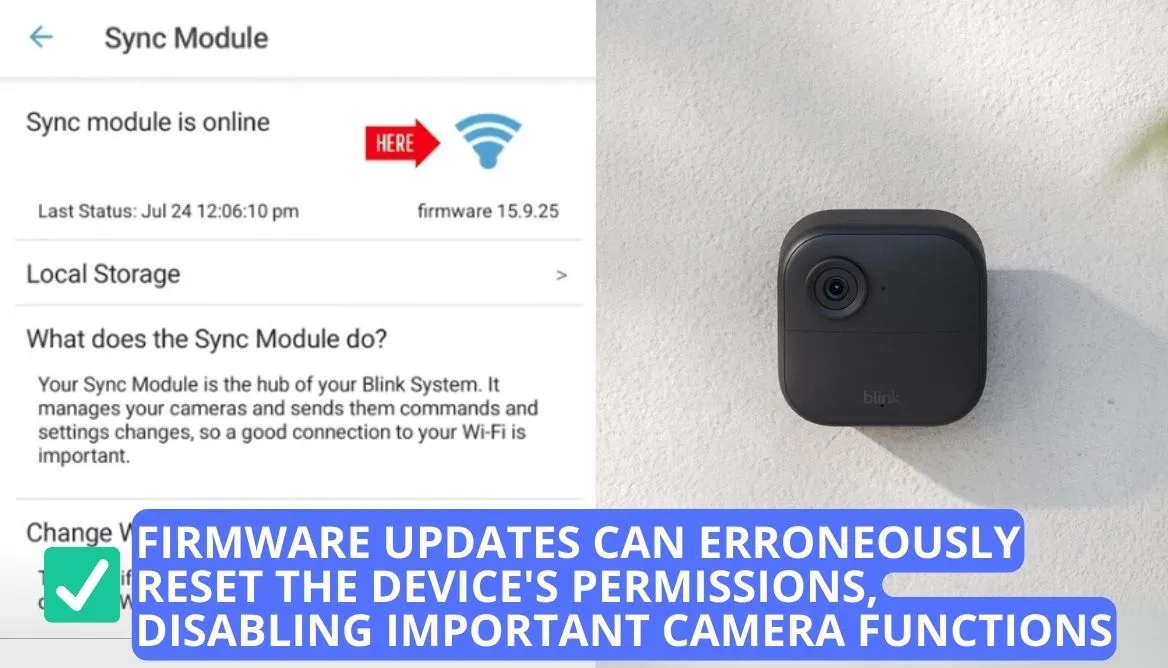
To get a quick update, manually checking and enabling permissions through the Blink app is necessary. Additionally, saving these changes becomes vital, as the system doesn’t automatically save modifications.
By diligently managing firmware updates and permissions, you can ensure your Blink camera functions according to your preferences.
5. Faulty Configurations
You might be surprised to hear that incorrect camera settings also lead to the Blink camera malfunctioning. Altering various settings such as activity zones, privacy zones, traffic zones, recording setup, security mode, and retrigger time can result in potential issues. Below, I have highlighted detailed steps to make sure that these parameters are correctly set:
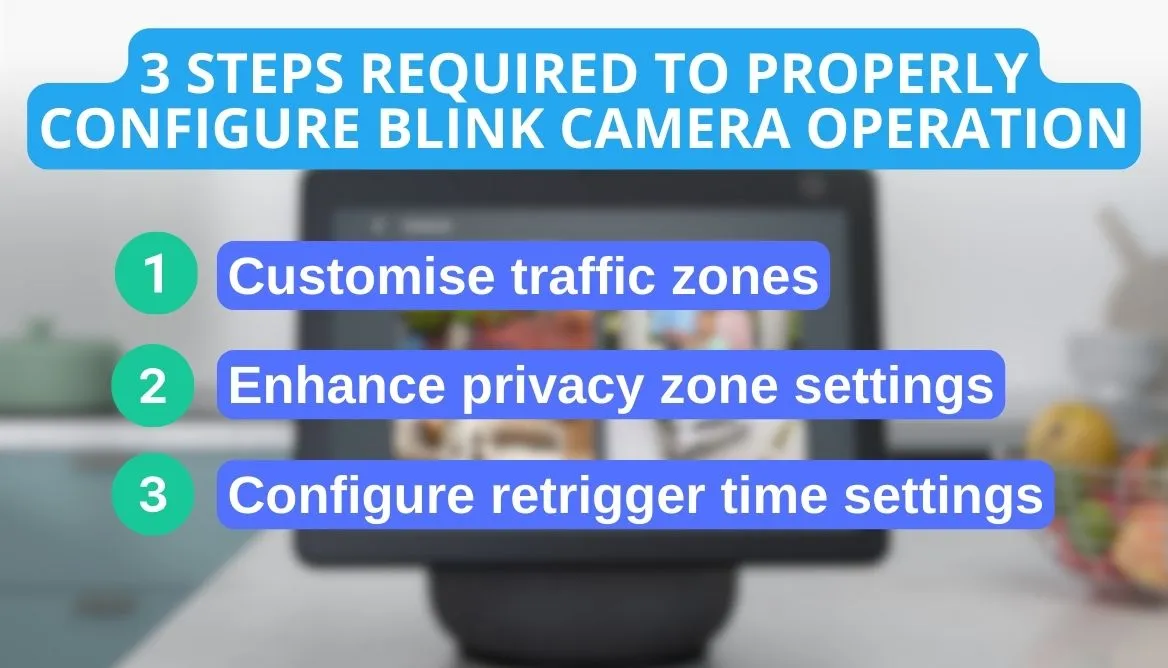
Configuring Motion Zones
To customize Motion Zones, I have enlisted an easy guide. Let’s learn more about it below:
- Access “Camera Settings” for the specific camera.
- Within “Camera Settings,” navigate to “Motion Settings” and select “Motion Zones.”
- You’ll see a recent thumbnail with a grid pattern on the Motion Zones screen. Keep your settings accurate by tapping “Update Photo” to refresh the thumbnail.
- Choose the areas where you don’t want motion detection by tapping on the rectangles, making them grayed out. This means motion within the grayed-out area won’t trigger recording.
- After selecting your inactive Motion Zones, tap “Done.”
Enhancing Privacy with Privacy Zone Settings
The next step is to cater to the privacy zone. Here’s how you can do it:
- Access the Blink camera settings that you want to modify.
- From “Camera Settings,” choose “Motion Settings” and then tap “Motion Zones.”
- Next, toggle to the “Privacy Zones” options.
- Then access the screen displaying the camera preview and a grid layout.
- Select “Update Photo” to refresh the thumbnail image. Keep in mind that resetting Privacy Zones will erase existing zones and doesn’t allow for editing; they can only be removed and recreated.
- Afterward, sketch up to two zones by tapping and dragging on the screen within the thumbnail image. Adjust and reposition the zones by dragging on the blue dots at each corner.
- Once the zones are defined, click “Done” and then “Save” to apply all the changes in settings and return to the Home screen.
- Now, revisit the Zones screen. You’ll notice Privacy Zones displayed in black, creating a noticeable contrast with the gray Motion Zones.
Adjusting Retrigger Time Settings
To modify the settings for the retrigger time, follow these steps:
- Go to “Device Configuration” beside the camera you wish to modify and choose “Motion Configuration.”
- Within “Motion Configuration,” modify the Retrigger time setting between 10 and 60 seconds using the slider.
- Slide to the right to extend the retrigger time and to the left to reduce the delay.
- Opting for a longer retrigger time implies that your camera will not capture footage between successive motion events for an extended duration.
- After configuring, press “Save” to implement your chosen retrigger time preference.
6. Nighttime Challenges with Camera Motion Detection
Problems arising from motion detection settings during nighttime operations have emerged as a primary source of concern. A couple of months ago, my camera faced the same motion detection issue, which arose from inadequately configured Infrared (IR) settings or problems with night vision capabilities.
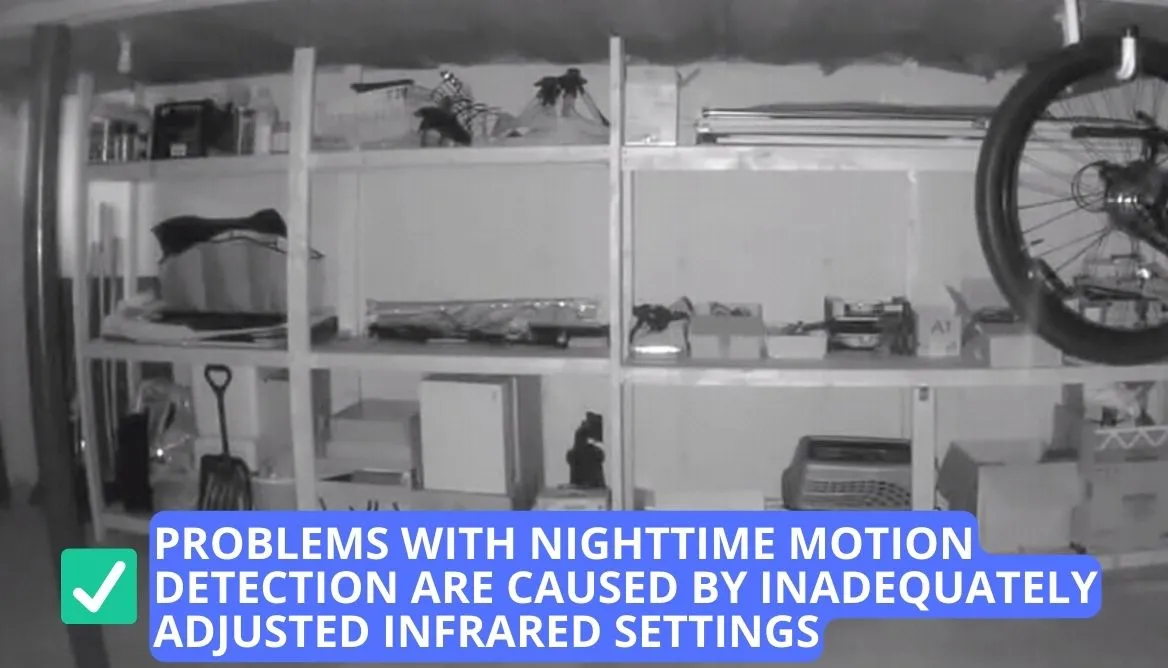
The method I tried to troubleshoot started with ensuring the IR settings were activated. You can check them in “Camera Settings” > “Nightvision.” Adjusting IR intensity, preferably to a high setting, addressed my specific nighttime motion detection problems.
However, if challenges persist for you, considering additional IR illumination through an IR floodlight can be an effective solution.
7. Incorrect Blink Camera Placement
Camera placement holds a healthy amount of significance. An improperly placed Blink camera might struggle to capture motion events effectively.
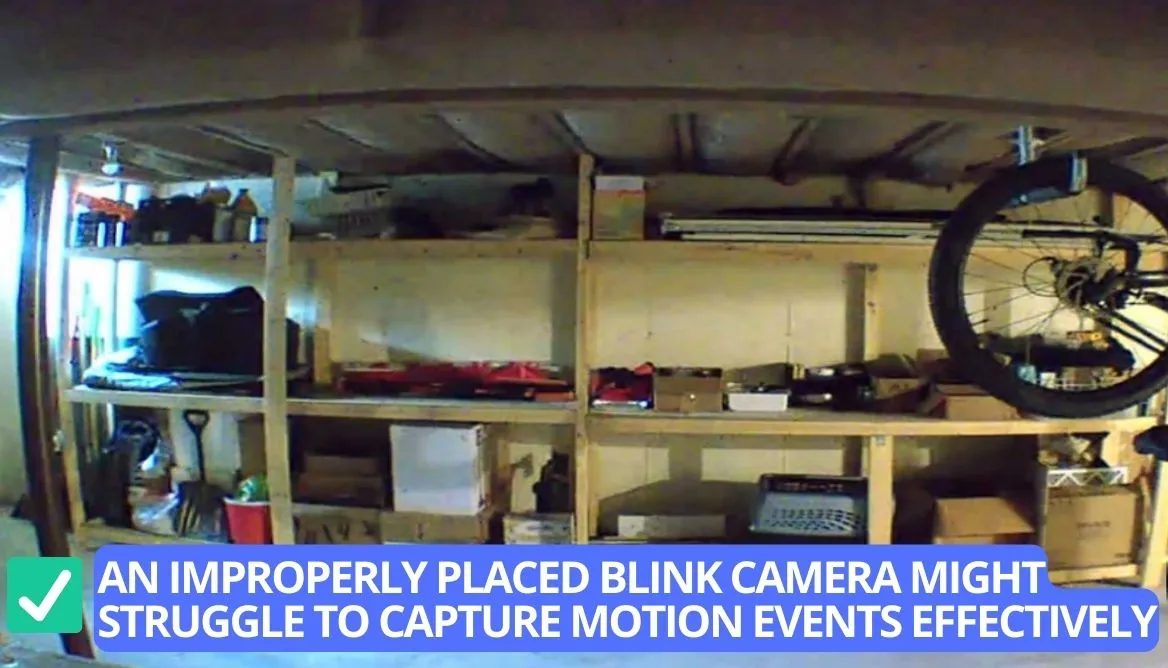
Ensuring optimal camera placement involves strategic positioning in visible areas where motion can be easily detected. You can start by placing Blink cameras in areas with clear visibility, such as near the street light. This will enhance the likelihood of capturing motion events accurately.

8. Malfunctioning IR
The infrared (IR) sensors in a Blink camera may encounter challenges if obstructed or affected by external factors such as heat sources. These sensors rely on an unobstructed line of sight for accurate motion detection features.
However, sunlight wasn’t an issue for us as our camera was under shade. But, many users have faced this issue, so I thought I would highlight it for you.
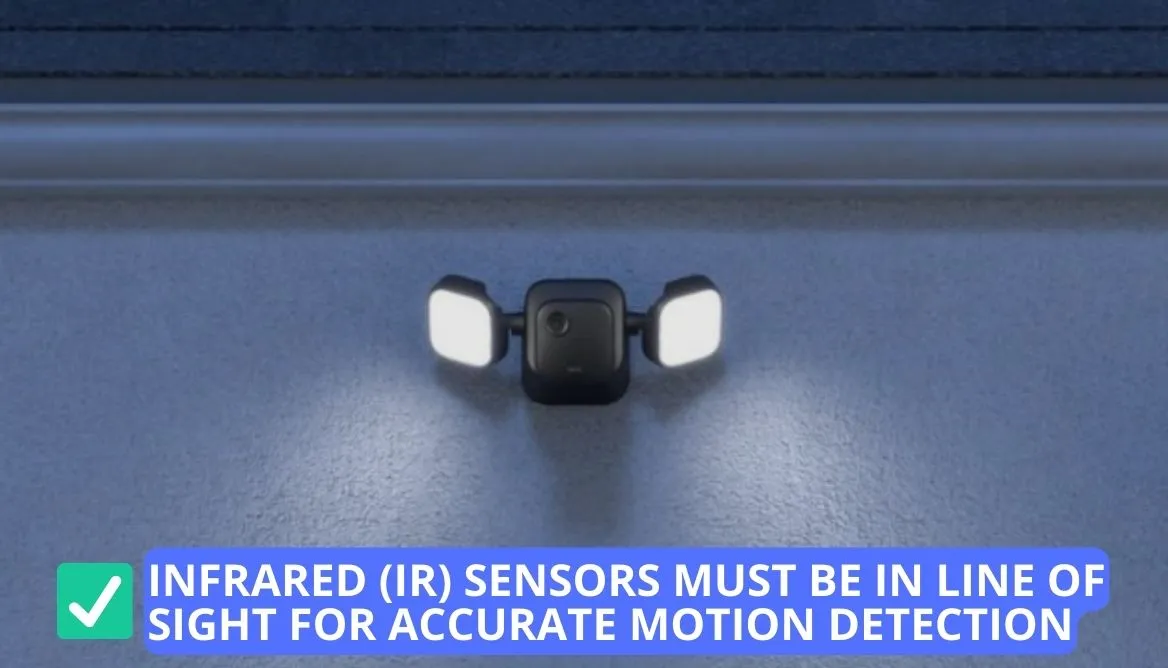
As discussed, check the camera’s placement to address IR-related issues effectively. Ensure it isn’t positioned behind glass or obstructed by materials that might block infrared light. Additionally, avoiding placement near heat sources such as:
- Direct exposure to sunlight;
- Radiators;
- Vents;
- Windows.
9. Blink Camera Not Picking Up Motion Due To Expired Subscription
After applying all the above-discussed solutions, if you are still struggling with Blink camera not picking up motion, I suggest you check for an expired subscription. Plus, also have a look at the built-in storage options.

Verifying the status of your Blink subscription or cloud storage is essential.
- You get an initial 30-day free trial when you buy a new camera.
- After a month, you must ensure your subscription is active to continue storing photos and videos from your camera in the Amazon cloud.
- Alternatively, connect a USB flash drive to the sync module if supported for a backup.
10. Problem with the Maximum Camera Range
Heading to our tenth solution, Blink cameras are efficient but have a specific maximum range for motion detection. If motion events occur either too close or too far from the camera, it might result in non-detection or non-recording of these events.
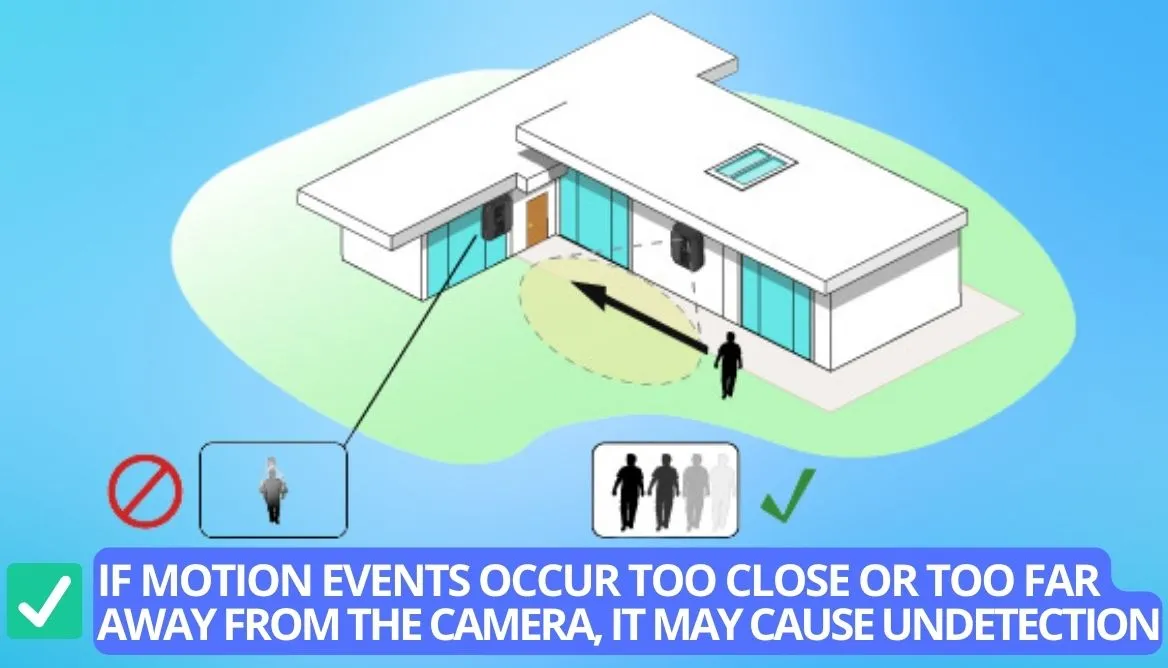
To find the answer to this query, I contacted Blink and learned that the optimal range is 5 to 20 feet from the camera. You can also adjust the camera’s position accordingly to cover the desired range effectively, resolving potential issues associated with detecting motion.
To get an on-the-spot result, Samuel stood right at the required range, and I was able to detect motion ideally.
For a better understanding, you can also watch this helpful visual guide.
Best Alternatives To Cater Motion Detection Issue
After going through all the technical solutions, it might still be possible that your Blink camera is unresponsive. I understand because I have witnessed people resolving motion detection issues following some additional methods. Let me highlight these actions for you:
1. Check Your Wi-Fi Connection
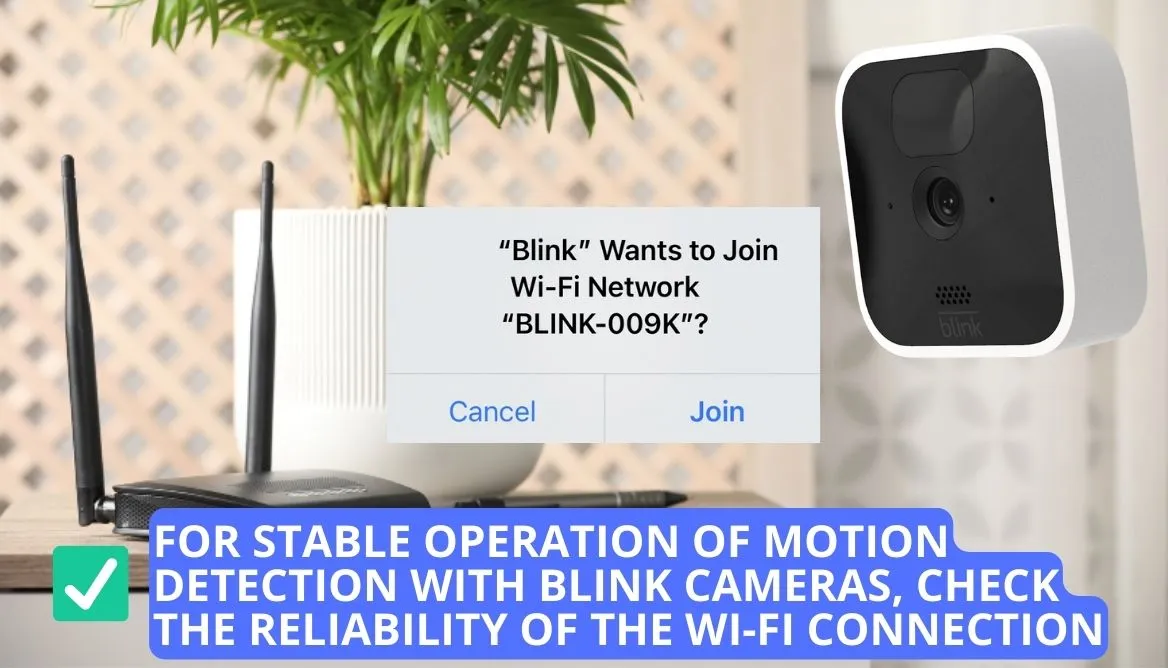
Although it might sound a bit old-fashioned, it’s crucial to make sure your camera is linked to the internet for consistent motion detection features with Blink cameras. Begin by confirming the reliability of your Wi-Fi connection.
If your Wi-Fi is functioning properly, ensure the camera is within 100 feet of the Blink sync module to guarantee a robust network connection for detecting motion.
2. Evaluate the Voltage Levels
The motion detection performance of your Blink cameras can be impacted by low voltage. Keep a regular check on the voltage levels of your camera’s power source using a voltage meter or by monitoring the power indicator light.
To prevent interference or electrical noise when detecting motion, place the camera in a location away from potential disturbances.
3. Perform a Blink Camera Reset
Initiating a reset on your Blink camera to reinstate motion detection is a viable option. Regardless of the specific camera model you own, it’s worth considering the reset process. I’ve detailed three distinct methods for resetting various cameras, providing options to suit your needs perfectly.
Resetting a Blink Mini Camera
First, I will discuss the procedure for a Blink mini camera:
- Identify the small reset button on the camera’s underside.
- Press and hold the reset button for a duration of 30 seconds.
- This effectively restores the camera to its factory default setting.
Performing a Reset on Blink Outdoor, Indoor, XT, or XT2 Cameras
Check that the camera is powered on for resetting Blink outdoor, indoor, XT, and XT2. Then:
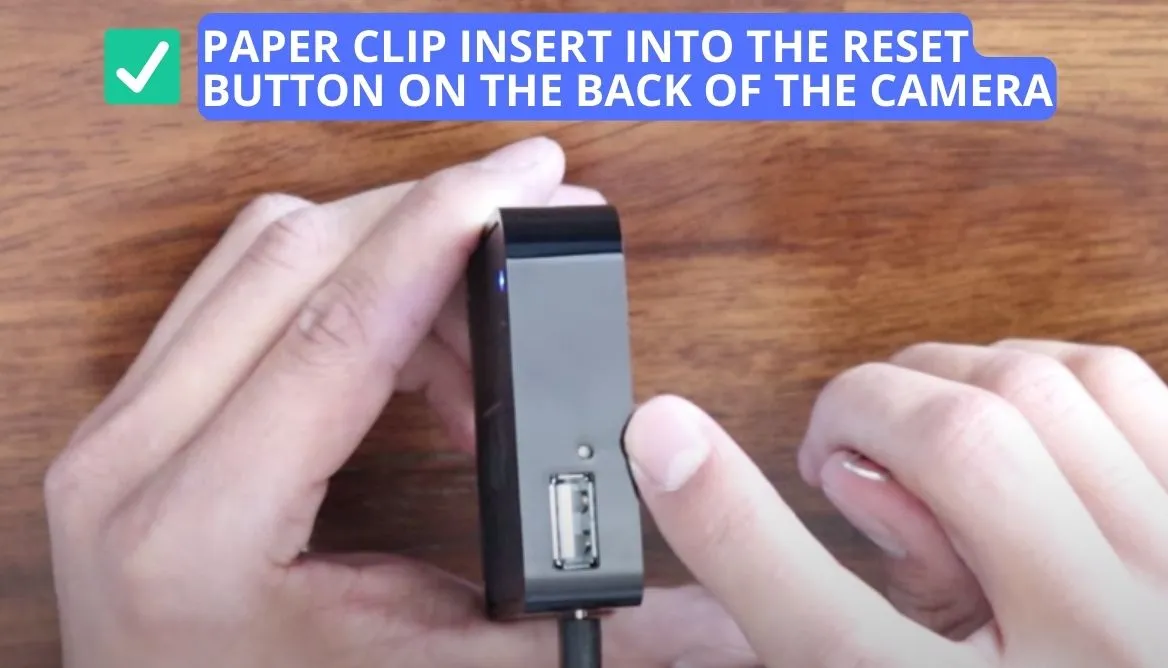
- Find a small pin or paper clip.
- Insert it into the factory reset button on the back of the camera.
- Afterward, hold for about 5 – 15 seconds.
- Stop when you observe the flashing red light turns to solid green.
Resetting a Blink Video Doorbell
When having a Blink video doorbell, the procedure goes a bit differently. Starting with:
- Perform a power cycle reset by removing the doorbell’s batteries for 5 seconds.
- Now, re-insert the removed batteries and wait for 30 seconds.
- Next, check if the doorbell reconnects. If it doesn’t connect, try the same steps 2-3 times.
4. Contact Blink Support
If you are still unable to solve your issue then there is no shame in asking for help from Blink Support which offers 24/7 assistance through various channels, including:
- Phone (1 833-392-5465);
- Submit a request;
- Live Chat.
However, before contacting support, gather essential information such as your Blink camera model, firmware version, and any error codes or messages received.
FAQs
How do I get my Blink Camera to detect Motion?
To get your blink camera to detect motion, check the camera’s positioning, adjust motion sensitivity settings, and configure activity zones using the Blink app. Additionally, ensure the camera’s firmware is up-to-date for optimal performance.
What is the Blink Camera Motion Detection Range?
The Blink camera has a motion detection range of up to 20 feet. Position the camera within this range to capture and record motions effectively for best results.
Why is my Blink camera not Recording Sometimes?
If your Blink camera is not recording sometimes, check your subscription status. After the 30-day free trial, ensure you have an active subscription or a connected USB flash drive for local storage.
Conclusion
In the end, we can conclude that the Blink camera not detecting motion can be easily resolved if proper measures are taken along with guidelines. To enable motion detection in the camera, reduce the gap between the Sync module and the camera along with replacing normal batteries with standard AA. Then head to the Blink app and configure settings properly. This will likely restore motion detection in the camera.
However, you might still face issues capturing events properly after settings configuration. In order to resolve this issue, place your camera in a clearly visible area and ensure there is light nearby. Even if after changing camera placement your issue is not resolved, I would suggest you reach out to the Blink camera support center via phone, email, or live chat.
