Is your Blink sync module already registered to another account? As someone who has installed Blink cameras security system in his home, I know this problem can be very annoying. But don’t worry, I’ve got you covered.
I invite you to check out this informative guide, where I’ll discuss 6 reasons why your module is already registered to another Blink account. So, without any delay, let’s get started!
Quick Answer
I remember when I faced syncing issues with my Blink module, it was very frustrating. The following solutions help me to resolve the problem:
- Reset the camera and sync module;
- Reconnect the camera;
- Delete sync module old data;
- Re-register to your account.
However, the above info is just the tip of the iceberg. Continue reading below, where I’ll go in detail to highlight the seven core reasons behind this issue and 6 practical solutions. Let’s dive deeper into the details.
Read Also: Wyze Doorbell Installation: 4-Step Easy Guide
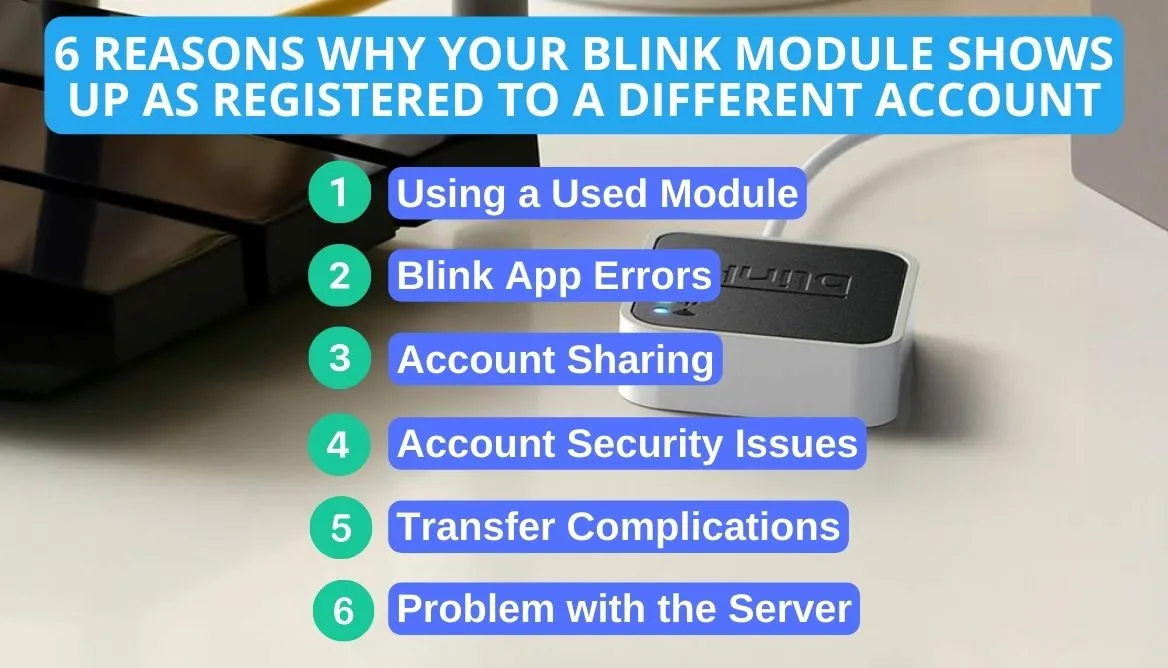
6 Reasons Why Your Blink Module Shows Up as Registered to a Different Account
The following are a few reasons why your Blink module has connectivity issues. Let’s have a look:
- You are using a used module: If you bought your synchronization module from hand, the Blink company may retain the previous owner’s information.
- Blink App Errors: Occasional tech troubles are common in software and applications. The same can happen with the Blink app, leading to the sync module registering with another account.
- Account Sharing: If you grant access to others, it’s possible that your device may get your module or Blink camera registered with someone else’s account.
- Account Security Issues: Someone without permission could access your account and re-registered the module. This usually happens during hacking attacks.
- Transfer Complications: Another less possible scenario is that the camera could unintentionally link elsewhere when moving settings/data to new Blink devices.
- Problem with the Server: If your credentials don’t match the hardware, the servers may be having difficulty verifying your account.

6 Ways to Troubleshoot Blink Sync Module Already Registered to a Different Account
After a brief review of the issues, let’s talk about their 6 simple solutions. Read on to learn more!
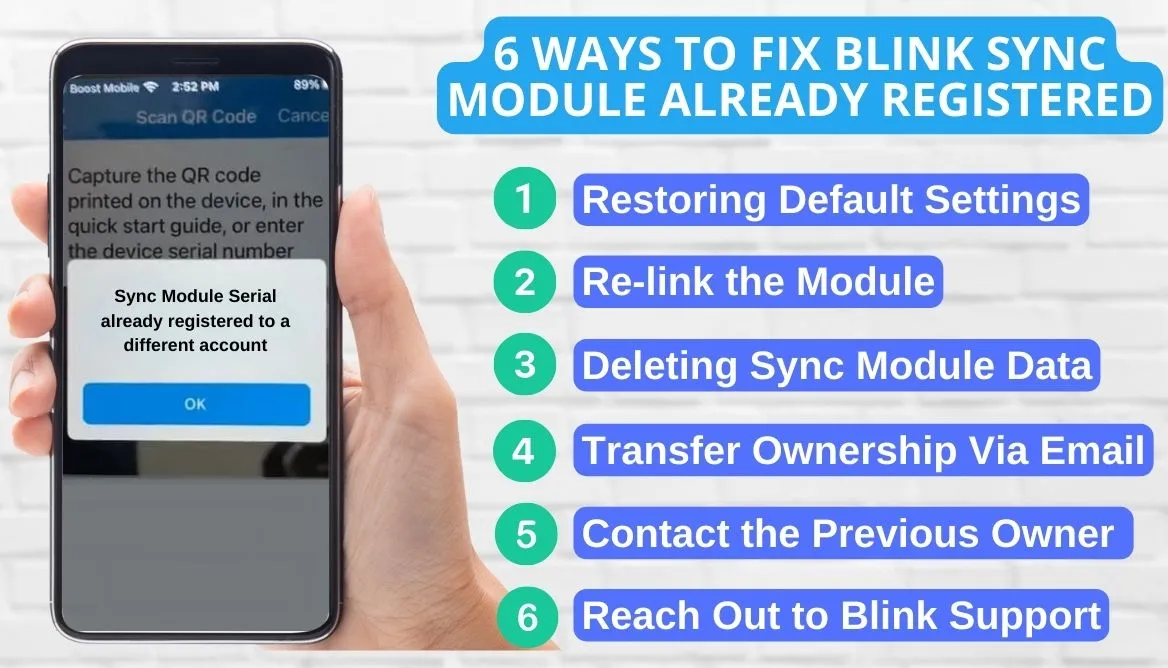
Method 1: Restoring Default Settings
I recommend restoring your module to factory conditions to potentially fix the issue. This typically erases customizations and dissociates the prior account.
Here are step-by-step instructions to guide you through resetting the module:
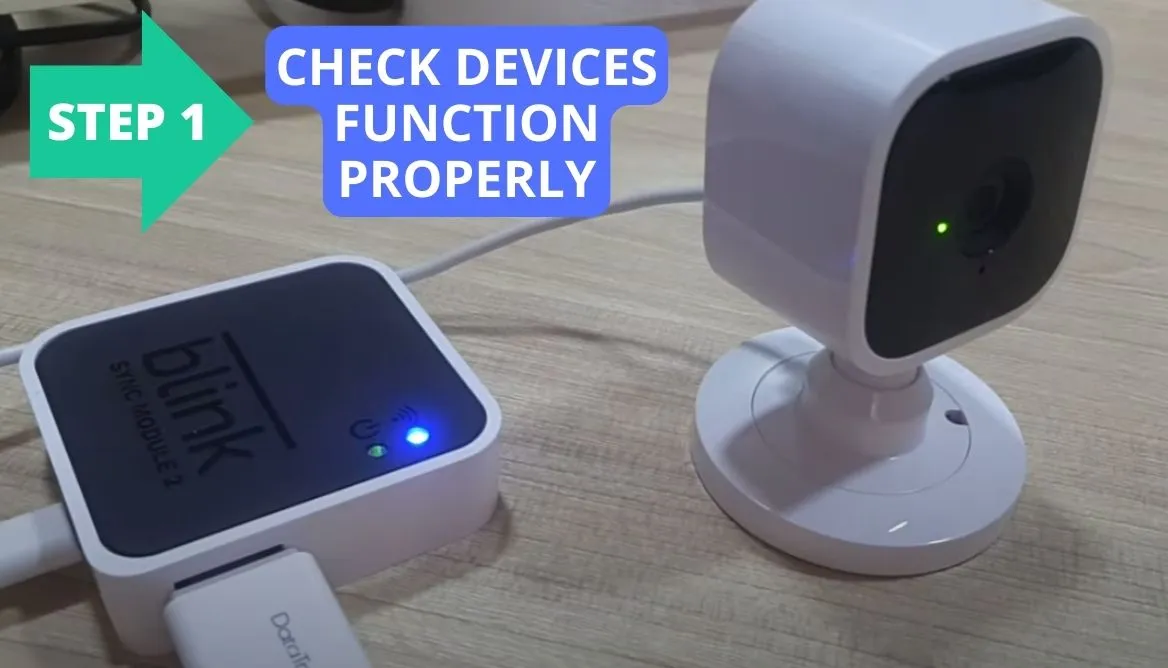
Step 1: Check Devices Function Properly
Before proceeding, verify your sync module and camera operate correctly. Ensure that your devices have a constant power supply.
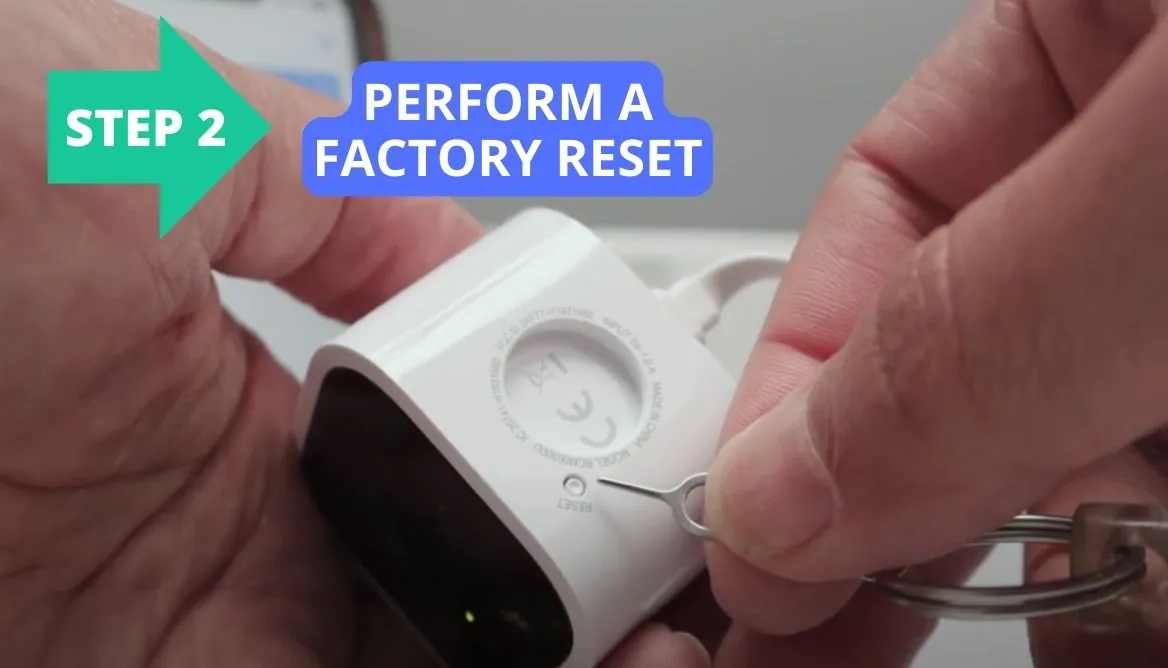
Step 2: Perform the Resetting Process
To reset, follow these guidelines:
- Locate the reset button, often near the USB port, on the sync module’s rear side;
- Using an item like a paperclip, press and hold the reset button for about 30 seconds;
- Release the button once the LED light shifts from red to blue.
Step 3: Mobile Blink App Setup
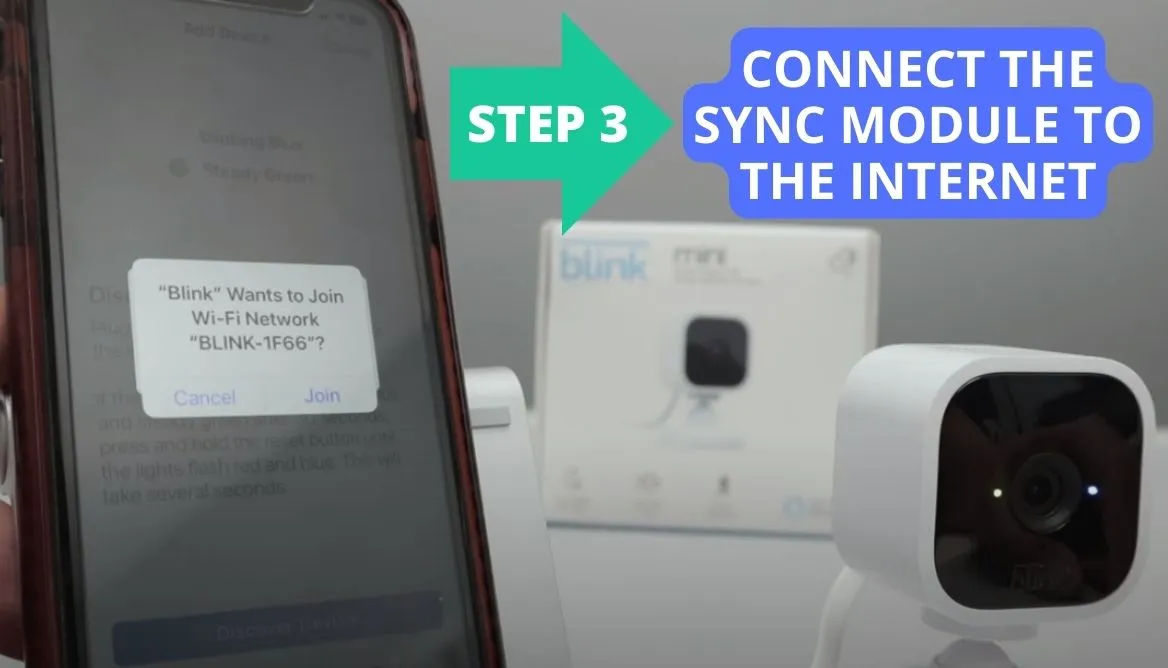
First, install the security camera company’s app if you lack it. After signing in, connect the sync module to the internet via Ethernet. Verify proper camera-to-module connectivity and confirm account details within the application.
Method 2: Re-link the Module
If your camera shows under another account, first ensure it’s registered to yours. These tips can help:
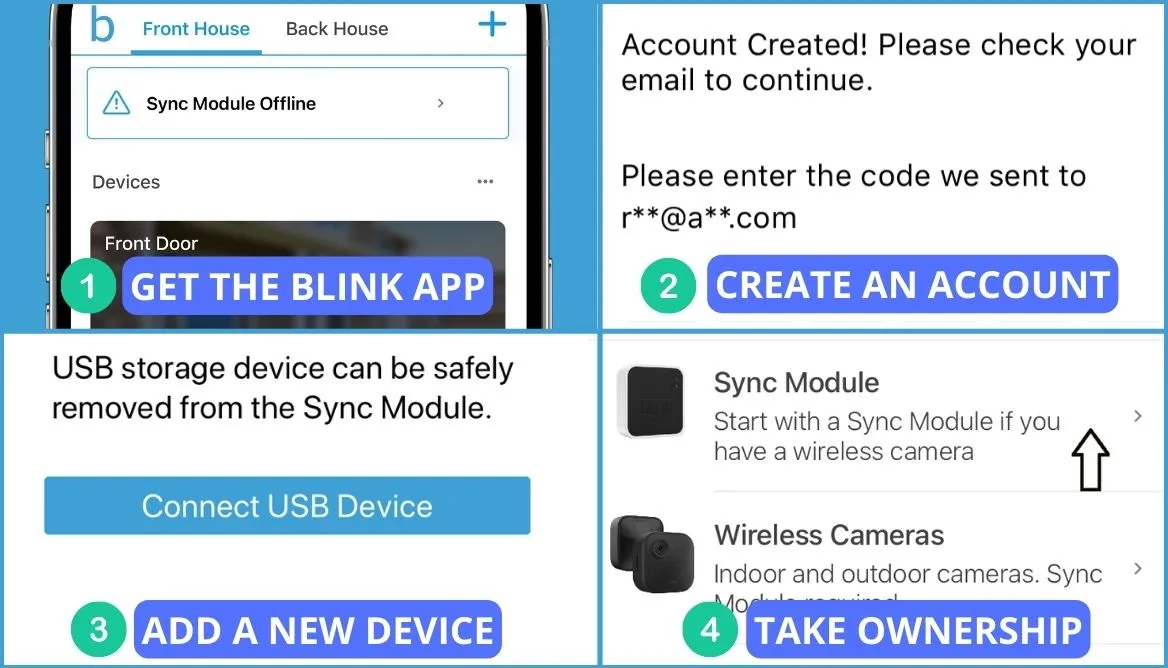
- Step 1: Get the Blink app on your phone or computer;
- Step 2: Open the app, sign in, or create an account if you are lacking one;
- Step 3: As per on-screen prompts after logging in, add a new device;
- Step 4: Opt to take ownership of an already installed module;
- Step 5: Follow the provided instructions to re-link the module.
Read Also: How to Reset the Blink Sync Module: 4 Important Steps
Method 3: Deleting Sync Module Data
Even after a factory reset, the module could still associate with a prior owner’s account. Simply follow these easy steps to erase previous settings.
- Step 1: Open the system settings for your Blink application;
- Step 2: Select the account name that you wish to delete;
- Step 3: Select “Delete System” and accept the alert that appears;
- Step 4: Return to the settings screen and see if the system is still there;
- Step 5: If it vanished, pick “Delete Account” or “Delete Blink Camera” on the bottom screen under “Manage Account.”
Once you have removed the old account, create a new Blink account with the new login credentials.
Method 4: Transfer Ownership Via Email
If deleting the account doesn’t work, the previous owner can transfer ownership through email. However, this process requires that you be in contact with the owner earlier.
I’ll provide step-by-step instructions to shift module rights from one account to another.
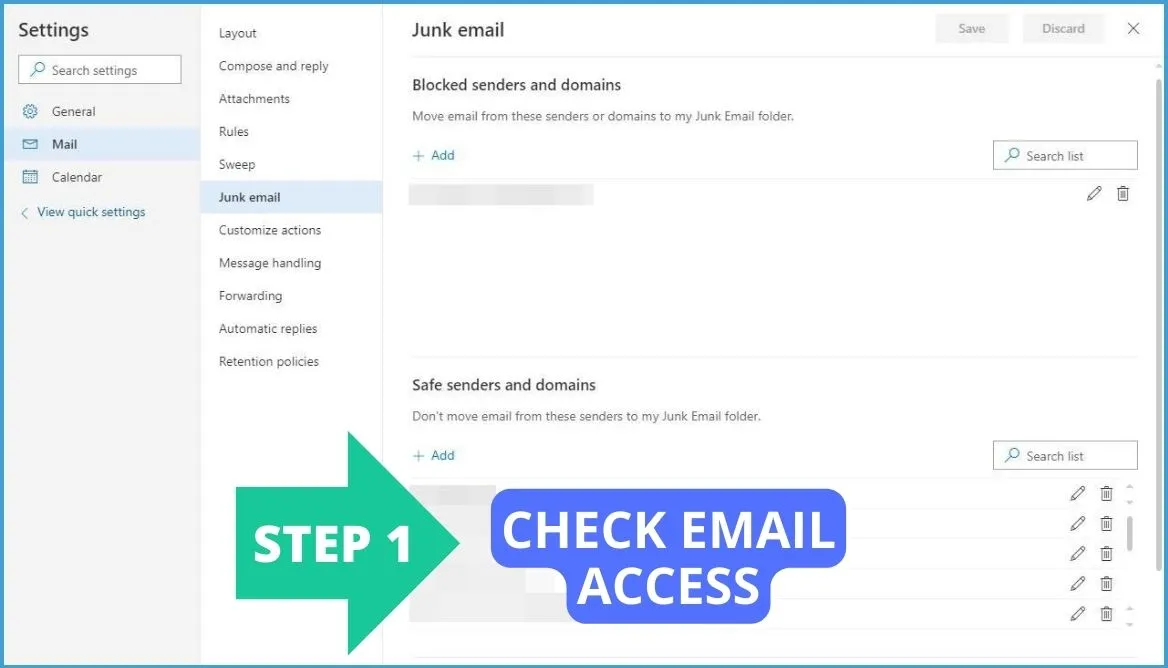
Step 1: Check Email Access
First, sign in to your current email address by providing the right credentials. Verify that this account is linked with the security module and camera service with the help of these steps:
- Open the Blink camera app and visit account settings;
- From the home page, select the “Account” icon;
- Give your password and log in to the application.
To access Blink with a different set of credentials, proceed to the next step after logging in with your current email address.
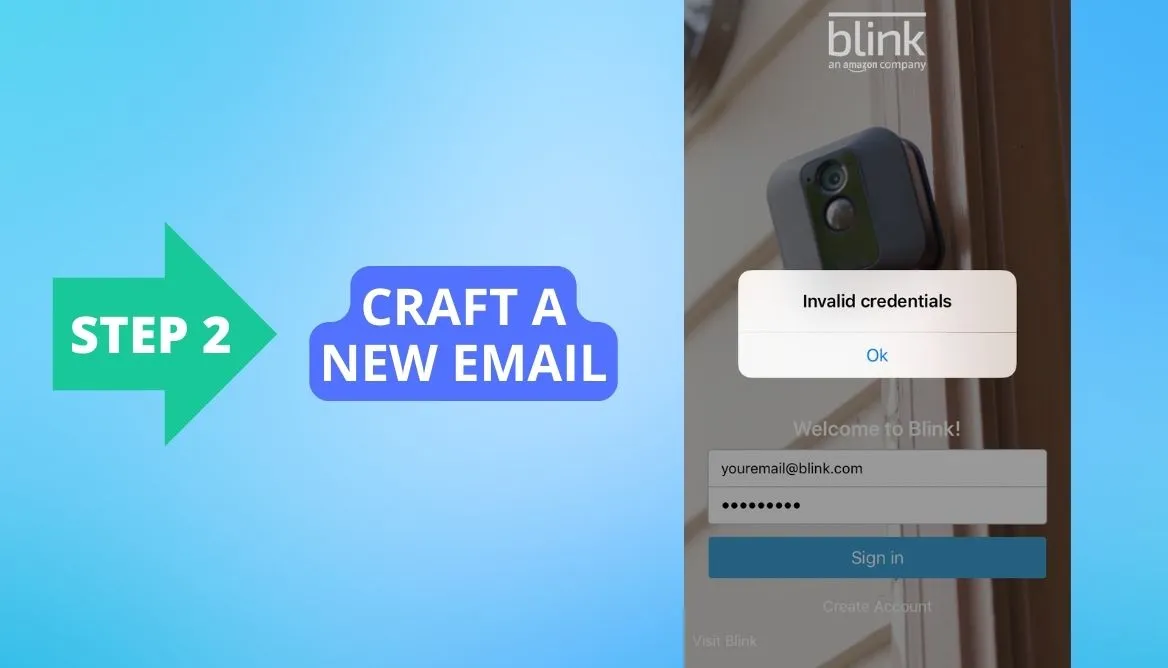
Step 2: Craft a New Email
To write an email, these steps can help you:
- After logging in, select “Change Email Address,” which will take you to a new screen;
- Next, input the login details for the new email address;
- Verify that the new email credentials are written correctly.
Since confirming the transfer requires the old address, ensure the login credentials are correct. It is also required in case the Blink team needs to contact you.
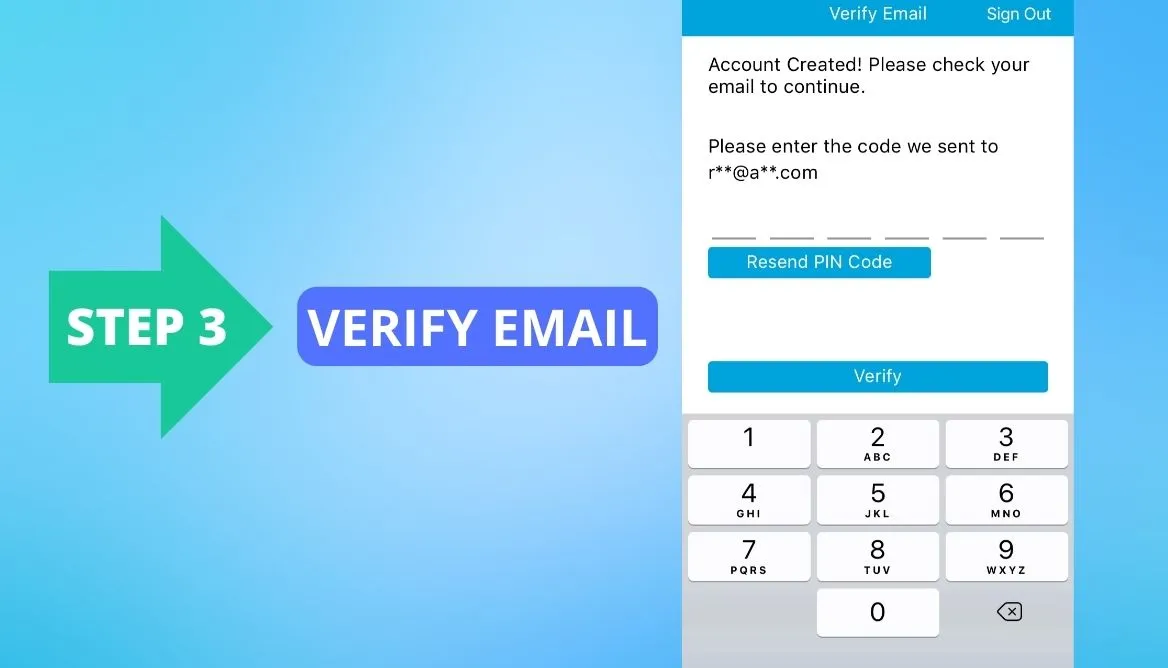
Step 3: Verify Email
To confirm the new email just entered, click the message sent to your old address. To verify:
- Check your inbox for any new messages;
- Follow the link in the new message after tapping the Blink note.
This step will verify your email, and Blink will register it as your new account address.
Method 5: Contact the Previous Owner
If you are still unable to get ownership of your module, I suggest contacting the prior owner of the Blink module. Perhaps they forgot to remove it from their account.

To address this:
- First, reach out to the previous owner via phone or email;
- Request them to either delete the previous account, transfer the ownership to you, or remove the sync module.
To perform this process, the ex-owner needs to log in to the account with their credentials and get access to the module settings.
Method 6: Reach Out to Blink Customer Care Team
If you have completed all the troubleshooting steps and your sync module still displays the error message “Blink already registered,” you might need to contact the Blink support staff.
You can contact the Blink customer support team via:

You can explain your problem regarding your Blink module registered to a different Blink account, and they will walk you through each step required to fix your problem quickly and effectively. However, when availing customer care services, it is important to provide them with as much information as possible, such as:
- Serial number of your Blink camera or module;
- QR code;
- MAC address;
- Any error message you received.
This will help them understand the problem more clearly and provide a workable solution. Watch this visual guide to resolve the issue of Blink syncing issues.
5 Tips To Prevent Problems In The Future
Below, I have jotted 5 simple preventive measures to ensure you maintain your entire Blink system and avoid any registration issues in the future. Let’s have a look:
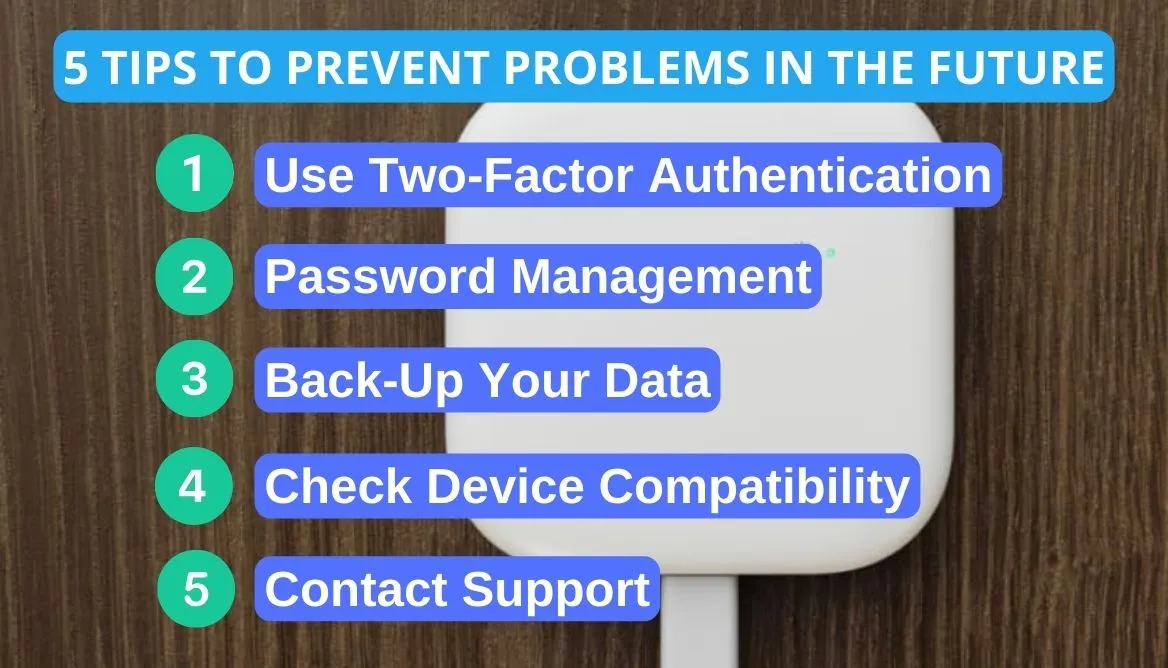
- Use Two-Factor Authentication (2FA): Turn on two-factor authentication whenever feasible. This can stop unwanted access and give your Blink account an additional layer of security.
- Password Management: Make sure you use secure, unique passwords for all of your accounts and keep track of your login information. Using the same password for several accounts might be confusing and possibly dangerous.
- Back-Up Your Data: Consider backing up your important data before making big changes or transitions. This can include any data related to your syncing process as well as settings and preferences.
- Check Device Compatibility: Make sure your Blink device is compatible with the Blink sync feature by checking its compatibility. Issues may arise if incompatible Blink devices are used because different devices and applications may not have the same requirements.
- Contact Support: Please don’t hesitate to ask for help from customer support if you run into problems that you cannot handle on your own.
FAQs
How do I unregister a sync module in Blink?
To unregister a sync model in Blink, use the Blink app and go to the module settings. Locate the “Unregister” or “Remove” option, then follow the instructions to finish the procedure.
How do I reset my Blink sync module for a new owner?
To reset your Blink module for a new owner, press and hold the reset button on the back of your device for 5 seconds until the flickering blue light appears on the LED, then release the button.
How do I add a Blink sync module to an existing system?
To add a Blink sync module to an existing system, simply select the “Add Device +” icon located on your Blink app’s main screen. Choose “Blink wireless camera system” from your device options, then follow the on-screen directions to finish the setup.
Why isn’t my Blink sync module working?
Your Blink module may not be working due to a weak internet connection, a low battery, or a broken device. Verify your power source and make sure it is connected to the internet properly. If problems continue, contact Blink customer service.
Conclusion
Summing up, the Blink Sync module already registered to another account is a frustrating problem. If you are also facing this issue, try resetting your device. Moreover, you can try reconnecting the Blink module with the application or updating the Blink app.
Further, asking the previous owner to remove their own Blink account is another option. If nothing is helping, you can always vouch for customer support as a last resort.
Nonetheless, if you securely manage your password, use a 2FA system, and purchase a compatible device, this problem can be avoided.
